TL;DR:
- Proper finishing, cleaning, and maintenance are essential to preserve carbon fiber’s appearance and structural integrity, whether using genuine material or vinyl wraps. Selecting the appropriate finish based on placement, mastering heat application during installation, and protecting surfaces with ceramic coatings ensure longevity and optimal visual impact. Regular inspection and careful cleaning prevent damage, enabling enthusiasts to build high-performance, striking cars that maintain their quality over time.
Carbon fiber styling tips can save you real money and serious frustration when you’re working through your first major build or refining an already modified car. The material looks incredible, weighs almost nothing, and performs where it counts. But carbon fiber rewards those who understand it and punishes those who wing it. Get the finish wrong, skip a step during installation, or clean it with the wrong product, and you’re looking at delamination, yellowing, or a look that doesn’t match your car’s character. This guide cuts straight to what works.
Table of Contents
- Key Takeaways
- 1. Carbon fiber styling tips start with choosing the right finish
- 2. Know the difference between real carbon fiber and vinyl wrap
- 3. Prepare your surfaces before anything touches the car
- 4. Master the heat step when applying vinyl wraps
- 5. Use the right tools for a clean carbon fiber installation
- 6. Prioritize these vehicle areas for maximum visual impact
- 7. Clean carbon fiber correctly every single time
- 8. Protect carbon fiber with ceramic coating, not wax
- 9. Inspect and address damage before it spreads
- My take on balancing style and function with carbon fiber
- Build smarter with E6 Carbon’s carbon fiber lineup
- FAQ
Key Takeaways
| Point | Details |
|---|---|
| Match finish to placement | Use gloss for bold exterior statements and matte for interior surfaces that see regular hand contact. |
| Heat is non-negotiable for wraps | Post-heating wrap edges to the correct temperature locks adhesive and prevents peeling weeks later. |
| Real CF vs. vinyl matters | Genuine carbon fiber adds structural benefits; vinyl wraps are a budget-friendly aesthetic option with shorter lifespans. |
| Distilled water only for cleaning | Tap water minerals dull carbon fiber resin over time. Use pH-neutral shampoo with distilled water every wash. |
| Ceramic coating over wax always | Wax degrades polyester resin. Ceramic coatings applied every 6 to 12 months offer far superior protection. |
1. Carbon fiber styling tips start with choosing the right finish
The matte versus gloss decision is not just aesthetic. It’s functional. Gloss carbon fiber shows fingerprints and micro-scratches in over 90% of cases, while matte finishes keep those imperfections nearly invisible. That stat matters a lot when you’re choosing between the two for an interior piece you’ll touch every time you drive.
Gloss is the right call for exterior components like spoilers, hoods, and splitters where you want the weave to pop under sunlight and draw the eye. Matte works better for steering wheels, center consoles, and door trims because it scatters light differently, reducing cabin glare and looking clean even after daily use.
Pro Tip: If you’re modifying an interior and exterior simultaneously, consider going matte on all interior pieces and gloss on all exterior pieces. The contrast creates a coherent, intentional look rather than a random mix.
Here’s a quick reference before you purchase:
| Component | Recommended finish | Why |
|---|---|---|
| Hood | Gloss | Bold visual impact in direct sunlight |
| Spoiler / wing | Gloss | Highlights weave pattern and aggressive stance |
| Steering wheel | Matte | Reduces glare, hides hand oils |
| Interior trim | Matte | Stays clean-looking longer with less care |
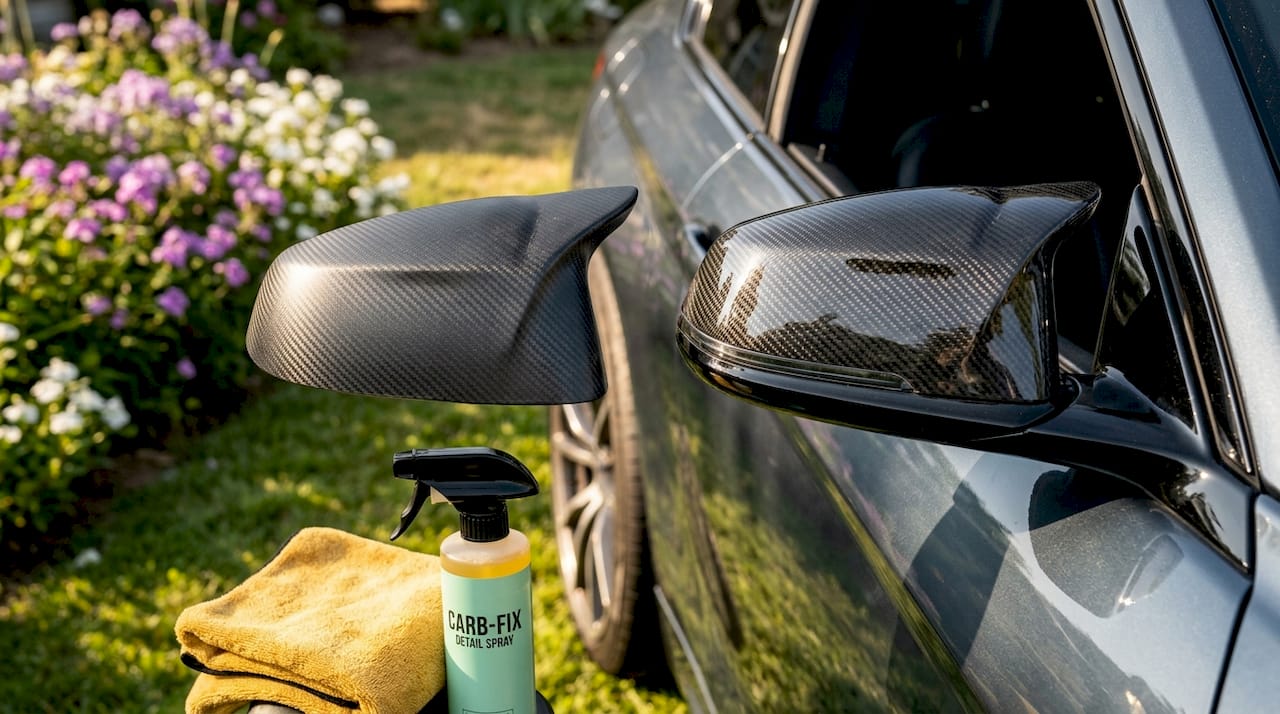
| Mirror caps | Either | Depends on overall exterior theme |
2. Know the difference between real carbon fiber and vinyl wrap
Real carbon fiber and carbon fiber vinyl wrap look similar at a glance. They are completely different products with different applications. Genuine woven carbon fiber composite adds structural reinforcement through layered weaves, shaves weight off the car, and lasts decades with proper care. It’s the choice for hoods, diffusers, splitters, and body panels where stiffness and weight savings matter.
Carbon fiber vinyl wrap is a film applied over existing panels. It costs far less and allows you to change the look without fabrication. Premium cast vinyl wraps last 5 to 7 years in controlled conditions; budget films last 1 to 2 years. If you’re working on a project car that might change direction, wrap is a practical tool. If you’re building something permanent, invest in the real thing.
When evaluating genuine carbon fiber parts, check for consistent weave alignment, no voids or dry spots in the resin, and a uniform sheen across the surface. Inconsistent weave direction or resin pooling are signs of low-quality layup work.
3. Prepare your surfaces before anything touches the car
Surface prep is the most skipped step in carbon fiber installation and the one that causes the most callbacks and rework. For vinyl wraps, the panel must be clean, degreased, and completely free of wax. Any contamination underneath the film creates bubbles that are almost impossible to remove after the adhesive sets.
Wash with isopropyl alcohol after degreasing, and wipe in one direction rather than circular motions to avoid redistributing oils. For real carbon fiber components, check that mounting surfaces are free of paint chips or raised edges that could stress the part at contact points.
Temperature also matters more than most guides admit. Installing vinyl wraps below 60°F causes the adhesive to stiffen, reducing conformability and increasing the risk of lift at edges. Ideally, work in a space between 65 and 75°F.
4. Master the heat step when applying vinyl wraps
This is the single most misunderstood part of carbon fiber wrap installation. Most beginners stretch and lay the film, trim the edges, and call it done. Without the final heat pass, you’re leaving the job half-finished.
Post-heating wrap edges to 194 to 212°F breaks the film’s memory and permanently activates the adhesive. Skip this, and the wrap’s tension memory will pull the edges away from the panel in the weeks following installation, especially around curves and recesses.
Use a heat gun rather than a torch, and keep it moving constantly about two to three inches from the surface. Work the edges and any folded sections. Follow immediately with firm pressure from a felt squeegee to bond the adhesive while the film is still warm.
Pro Tip: After heating and squeegeeing, run your fingernail gently along folded edges. If the film springs back at all, hit it with another heat pass. It should lay completely flat and feel fused to the surface.
5. Use the right tools for a clean carbon fiber installation
The difference between a professional-looking result and a DIY job that shows is often the tools. You don’t need a full fabrication shop, but you do need a few non-negotiables.
For vinyl wraps:
- Heat gun with adjustable temperature settings
- Felt squeegee or rubber squeegee with a felt sleeve to avoid scratching
- Precision cutting tape or a knifeless tape system to avoid scoring the panel
- Isopropyl alcohol (70% or higher) for surface degreasing
- Tuck tool for tight channels and edges
For real carbon fiber components, a torque wrench matters more than most enthusiasts realize. Over-torquing mounting hardware can crack the resin around bolt holes, and that damage spreads under load. Always check manufacturer torque specs and use them.
6. Prioritize these vehicle areas for maximum visual impact
Not all carbon fiber upgrades deliver equal returns. Some areas dramatically change the car’s character; others are subtle touches that reward close inspection.
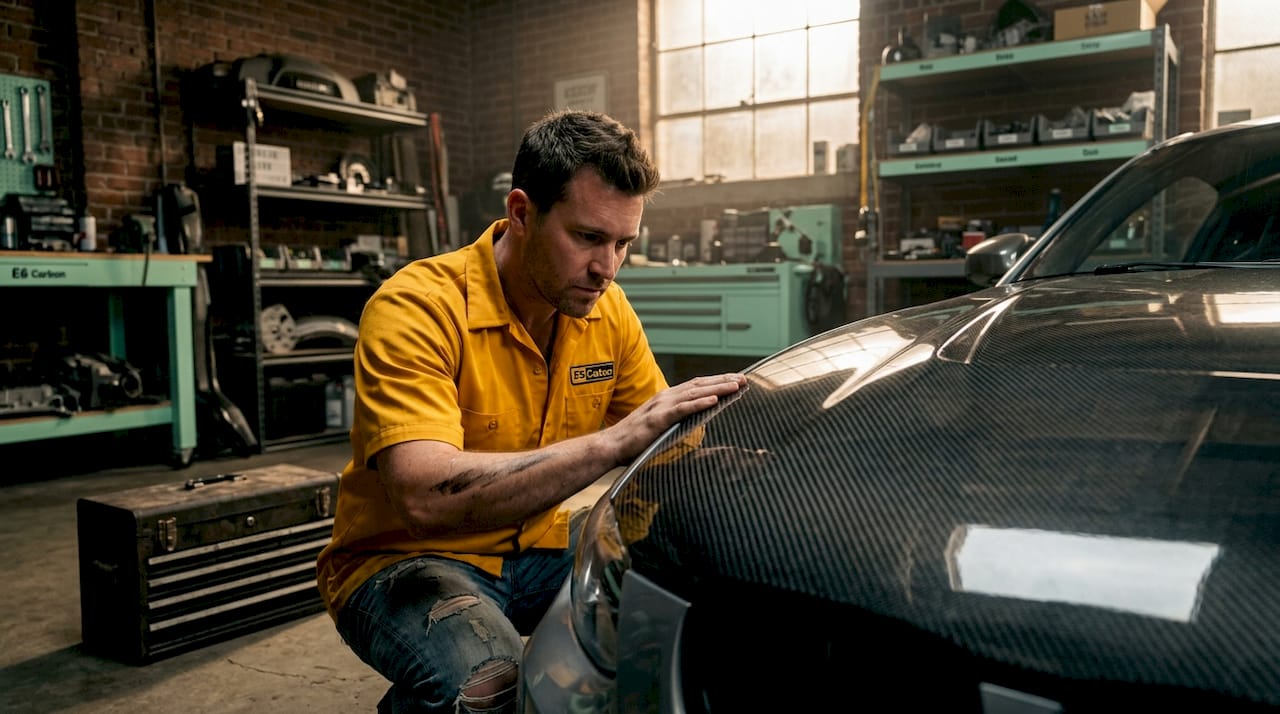
Front splitters and aerodynamic diffusers are the highest-impact exterior pieces because they anchor the front and rear stance of the car visually. A carbon fiber hood follows closely. Carbon fiber hoods like the AeroTech command attention immediately and reduce front-end mass at the same time.
Interior upgrades are often overlooked as carbon fiber design ideas, but they’re some of the most satisfying to live with daily. A carbon fiber dashboard cover transforms the cabin feel from standard to driver-focused. Mirror caps and side skirts complete the exterior package by creating visual continuity across the profile of the car.
| Area | Visual impact | Performance benefit | Best finish |
|---|---|---|---|
| Hood | High | Weight reduction | Gloss |
| Front splitter | High | Aerodynamic downforce | Gloss |
| Side skirts | Medium | Airflow management | Gloss or matte |
| Mirror caps | Medium | Minor drag reduction | Matches exterior |
| Interior trim | High (in-cabin) | None direct | Matte |
| Rear spoiler | High | Rear downforce | Gloss |
7. Clean carbon fiber correctly every single time
Improper cleaning is the fastest way to ruin a carbon fiber component. Tap water minerals cause long-term surface dulling by depositing calcium and magnesium salts into micro-pores in the resin. Over time, this turns a deep, clear gloss into a hazy, flat surface that no polish will fully fix.
The professional standard is a two-bucket wash method using pH-neutral shampoo and distilled water. One bucket for your wash mitt, one for rinsing. Never use automatic car washes with carbon fiber panels because rotating brushes create micro-scratches that dull the weave pattern.
Dry with a clean microfiber towel using blotting pressure rather than wiping strokes. Wiping drags any remaining grit across the surface and adds micro-scratches with every wash.
8. Protect carbon fiber with ceramic coating, not wax
Wax feels like the logical choice for protection because it works on paint. On carbon fiber, it’s a problem. Wax softens polyester resin over weeks of exposure, which gradually degrades the surface clarity and can compromise the structural integrity of thinner pieces over time.
Ceramic coatings are the correct choice. They bond to the resin surface rather than sitting on top of it, create a harder protective layer, and repel UV radiation that causes yellowing. Apply them at 18 to 25°C, with a 72-hour cure window completely free of moisture. Plan this step in advance. Applying a coating during a humid week or in direct sunlight will cause it to cure unevenly.
Reapply ceramic coatings every 6 to 12 months depending on sun exposure and how often the car is driven. Cars stored indoors and driven on weekends can stretch toward the 12-month mark. Daily drivers in sunny climates should refresh at 6 months.
Pro Tip: Before applying any ceramic coating to carbon fiber, do one pass with an IPA wipe-down at room temperature. Even fresh-looking surfaces carry release agents or oils from the manufacturing process that will prevent proper bonding.
9. Inspect and address damage before it spreads
Carbon fiber does not fail loudly. A small scratch on the clear coat, a hairline crack at a mounting point, or the beginning of delamination at an edge will quietly worsen until repair becomes a much bigger job than it needed to be.
Inspect every carbon fiber component at each wash. Look at edges first. Delamination typically starts there and presents as a slight lift or milky discoloration underneath the clear coat. A small delaminated area caught early can be re-bonded with epoxy; left alone, it peels across the panel.
For surface scratches that haven’t broken through to the weave, a polishing compound rated for clear-coated carbon fiber can restore clarity. Avoid generic automotive compounds. Many contain abrasives too aggressive for carbon fiber resin and will leave you worse off than when you started.
My take on balancing style and function with carbon fiber
I’ve seen more carbon fiber builds ruined by rushed finishing decisions than by bad parts. The enthusiasts who get the best results are the ones who treat installation and maintenance as part of the build, not afterthoughts. I’ve watched collectors spend serious money on genuine carbon fiber components and then wipe them down with tap water and a paper towel, turning a beautiful weave cloudy in under a year.
The styling with carbon fiber mindset that actually works is this: choose parts that serve a purpose beyond appearance. A carbon fiber hood that cuts 15 kg off the front axle changes how the car handles. A diffuser that actually guides airflow matters at track days. The look is a bonus, not the goal.
What I find consistently underrated is surface coating quality. Most enthusiasts focus on part selection and forget that a properly applied ceramic coating is what separates a build that looks stunning after three years from one that looks tired after one. The finishing detail is the real work.
— Kunal
Build smarter with E6 Carbon’s carbon fiber lineup

E6 Carbon manufactures carbon fiber performance parts and forged wheels designed for enthusiasts who want the full package. Their product range covers carbon fiber wings, aero kits, and body components for vehicles including Lexus, BMW, Lamborghini, Ferrari, and more. The Z-Carbon Aero Kit is a standout example of carbon fiber appearance upgrades that combine real aerodynamic function with aggressive visual presence. Pair that with AR03 multipiece forged wheels and you have a build that performs as well as it photographs. E6 Carbon also publishes installation and maintenance guides so you understand what you’re buying and how to keep it looking right. Explore their full carbon fiber catalog and find components built to the same standards the motorsport world demands.
FAQ
What is the best carbon fiber finish for exteriors?
Gloss is the standard choice for exterior carbon fiber components like hoods, spoilers, and splitters because it accentuates the weave pattern and delivers bold visual impact under direct light.
How long does carbon fiber vinyl wrap last?
Premium cast vinyl wraps last 5 to 7 years in ideal conditions. Budget films typically last 1 to 2 years, especially on horizontal panels exposed to direct sun.
Can you wax carbon fiber parts?
No. Wax degrades polyester resin over time and is not suitable for carbon fiber. Use a UV-stabilized ceramic coating instead, reapplied every 6 to 12 months based on driving conditions and sun exposure.
What causes carbon fiber to turn yellow?
UV exposure breaks down the clear coat and underlying resin when left unprotected. Regular ceramic coating application and avoiding prolonged direct sun when parked slows this process significantly.
Is real carbon fiber worth the cost over vinyl wrap?
For structural components like hoods, splitters, and diffusers, genuine carbon fiber adds real weight reduction and rigidity that vinyl wrap cannot replicate. For purely cosmetic pieces like interior trim accents, high-quality vinyl wrap is a practical and reversible alternative.