TL;DR:
- Removing badges from performance wheels is safe only if the badge is non-structural and proper techniques are used. Identifying the mounting method, using soft tools with low heat, and consulting the manufacturer prevent damage or warranty issues. For complex or integrated badges, professional assistance is recommended to avoid structural or finish damage.
You can safely debadge performance wheels, but only when the badge is non-structural and you follow a finish-first, manufacturer-aware method. The short version: identify the mounting method before you touch anything, use soft tools with low, localized heat, and stop immediately if you encounter rivets, bolts, or a badge that appears integral to the wheel geometry.
The risks are real. Powder-coated, machined, and clear-coated finishes on bespoke forged wheels scratch easily, and adhesive ghosting on a $4,000+ wheelset is not a minor cosmetic issue. Autoclave-cured carbon faces present an additional layer of concern: the resin surface is unforgiving under metal tools or excessive heat.
- Identify mounting method first: adhesive sticker, press-fit cap, clipped cap, or bolted/riveted badge.
- Use only soft, non-metallic tools: plastic picks, nylon pry bars, soft-edge plastic cards.
- Apply low heat: 30–60 seconds with a hair dryer, not a heat gun at full power.
- Stop and consult the manufacturer if you feel structural resistance, see fasteners, or the wheel is under warranty.
Pro Tip: Before starting, photograph the badge from the front and reverse side. If the wheel is off the car, inspect the back of the center cap housing for clips, screws, or retaining tabs. This one step prevents most broken-clip disasters.
Table of Contents
- What tools do you need to debadge performance wheels safely?
- Step-by-step removal for adhesive and press-fit badges
- Riveted, bolted, and integrated badges: why these are different
- How to protect and repair your finish after badge removal
- When should you stop and call a professional?
- Less-invasive alternatives that achieve the same look
- Key Takeaways
- The E6 Engineering perspective on debadging bespoke wheels
- E6 Forged wheels: factory-safe configuration from the start
- Useful sources and next steps
- FAQ
What tools do you need to debadge performance wheels safely?
The right toolkit is short. The wrong one is expensive.
Non-metallic prying tools are non-negotiable for machined and powder-coated forged surfaces. Plastic picks, nylon pry bars, and soft-edge plastic cards are the standard. Metal tools, even taped ones, mar premium finishes on contact.
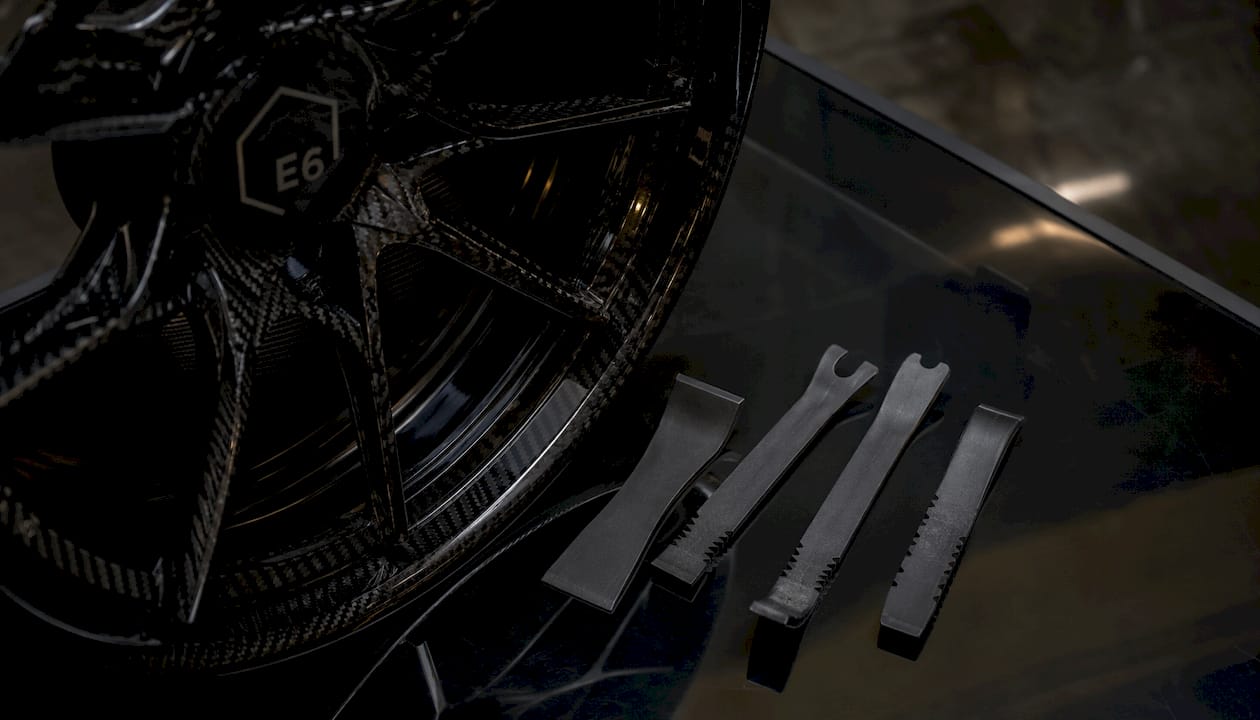
For heat, a standard hair dryer is the right call for most adhesive badges. A heat gun is acceptable only at its lowest setting, held at distance. The goal is softening the adhesive, not scorching the finish or the clear coat beneath it. Avery Dennison and 3M removal guidance consistently recommends low heat and shallow-angle lifting for film and badge removal.
| Tool / Material | Purpose | Notes |
|---|---|---|
| Plastic pick / nylon pry bar | Lift badge edges | Never substitute metal |
| Hair dryer | Soften adhesive | 30–60 sec per pass |
| Goo Gone or isopropyl alcohol (IPA) | Residue removal | Test on hidden area first |
| Microfiber towels | Wipe and protect | Lint-free only |
| Nitrile gloves | Hand protection | Required with solvents |
| Jack and jackstands | Wheel removal if needed | Required for screw-mounted caps |
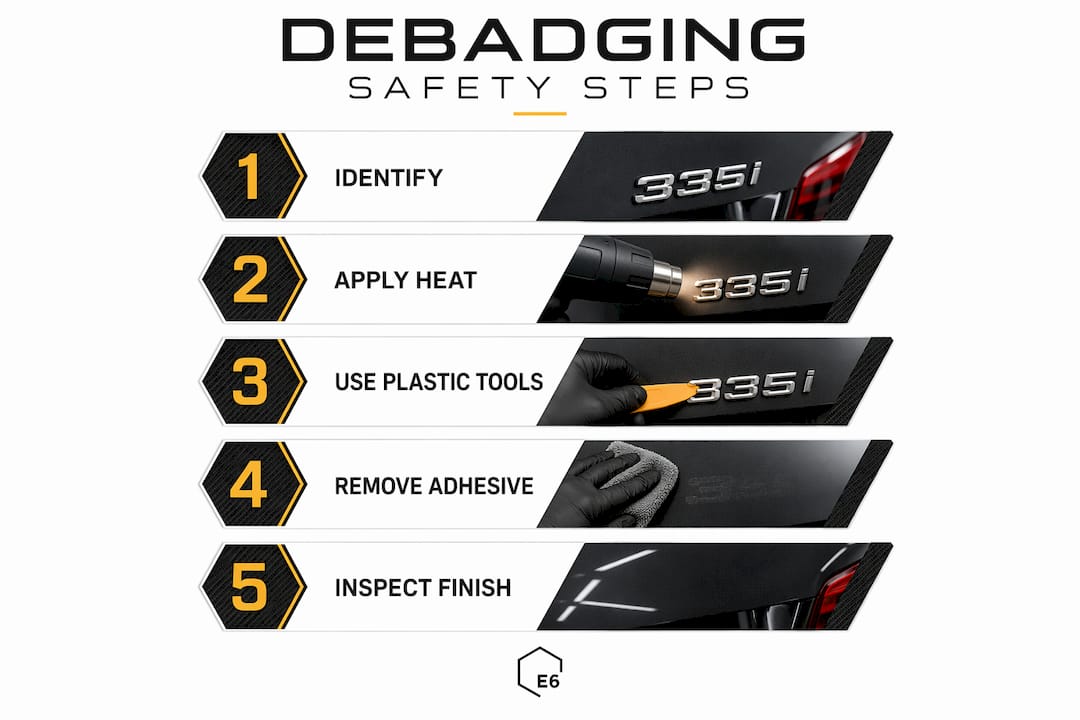
For adhesive removers, Goo Gone and IPA are the standard starting point. For stubborn residue, detailing professionals reach for CarPro TarX or Koch-Chemie Eulex. Always test on a hidden area first and rinse thoroughly. Oily residue left behind will compromise any future adhesion if you plan to apply a replacement emblem or vinyl overlay.
Step-by-step removal for adhesive and press-fit badges
Start with identification. Look at the badge face and, if possible, the reverse of the cap or spoke face. Clip-on caps generally pop out; screw-on caps require wheel removal to access fasteners from the rear. Adhesive-only stickers have no mechanical attachment and are the simplest case.
- Clean the area (5 minutes): wash the badge and surrounding finish with a microfiber towel and a rinse-free wash. Dirt under a plastic tool scratches.
- Warm the badge (1–2 minutes): hold a hair dryer 4–6 inches from the badge for 30–60 seconds per pass. You want the adhesive pliable, not the finish hot to the touch.
- Lift one edge (2–5 minutes): work a plastic pick under the badge edge at the lowest point. Apply minimal leverage.
- Peel at a shallow angle (2–5 minutes): pull back close to the wheel surface to minimize adhesive transfer. If resistance increases, stop and reapply heat rather than forcing it.
- Remove adhesive residue (5–15 minutes): apply Goo Gone or IPA, let it penetrate for two to three minutes, then lift softened residue with a plastic tool. Never scrub.
- Final wash and IPA wipe (5 minutes): clean the area per 3M vehicle prep guidance, then wipe with IPA to remove any oily residue.
Pro Tip: Pull the badge back at a shallow angle, almost parallel to the wheel surface. The moment you increase the angle, adhesive transfer spikes and you risk tearing the sticker, which leaves a harder-to-remove residue layer.
Total DIY time for a straightforward adhesive badge: roughly 30–45 minutes per wheel. Consumables (plastic picks, Goo Gone, IPA, microfiber towels) typically run $20–$40 for a full set.
Riveted, bolted, and integrated badges: why these are different
Stop before you pry. If a badge is bolted or riveted, applying heat to the face or levering against it can strip bolt threads, crack the mating flange, or damage the hub interface. Rivets require back-side access and drill-out; bolts require proper torque management on reassembly. Neither is a hair-dryer job.
Riveted and bolted badges are common on multi-piece forged designs where the center cap or spoke badge is mechanically fastened through the barrel or face. Bolt-on badges require back-side access; rivets typically require drill-out and replacement hardware. Attempting to pry from the face risks snapping retaining tabs that are difficult to source for custom forged designs.
Integrated or cast emblems are a different category entirely. When a logo is part of the wheel geometry, machined into the face, or formed into the carbon layup of an autoclave-cured component, removal is structural work. There is no safe DIY path for these.
For multi-piece forged wheels, always remove the wheel and inspect the reverse of the cap before attempting anything. What looks like a press-fit cap from the front may be screw-mounted from the back, and the screws may also be the torque-critical fasteners for the barrel assembly.
Pro Tip: Document the condition of every fastener and mounting surface with photos before you touch anything. If you later need to consult E6 Forged or a wheel refinisher, those photos are the difference between a quick answer and a long diagnostic.
How to protect and repair your finish after badge removal
Immediate aftercare matters. Once the badge is off and residue is cleared, wash the area, wipe with IPA, and inspect under direct light for ghosting, adhesive haze, or micro-scratches.
- Adhesive ghosting: polish with a machine polisher and a mild compound. For severe ghosting on older finishes, wet sanding may be required, which is best left to a professional paint-correction specialist.
- Micro-scratches from tools: a light machine polish typically resolves these on clear-coated and powder-coated surfaces.
- Finish dulling or oxidation: if the badge has been in place for years, the surrounding finish may have faded. Spot polishing helps; full refinishing may be the only clean solution.
- Powder-coat damage: spot repair is rarely invisible. A full re-coat by a certified wheel refinisher is the professional standard.
| Damage Type | DIY Option | Pro Option |
|---|---|---|
| Adhesive residue | Goo Gone + IPA wipe | Detailer solvent treatment |
| Light ghosting | Machine polish + compound | Paint correction service |
| Micro-scratches | Mild polish by hand | Machine correction |
| Powder-coat damage | Not recommended | Full wheel re-coat |
| Finish dulling | Polish + wax | Full refinish or re-machine |
After any repair, run a visual inspection checklist: confirm clip integrity if a cap was removed, check paint gloss consistency under direct light, and re-torque any fasteners to spec if the wheel was removed. A wheel balance check is advisable after any center-cap work.
When should you stop and call a professional?
Some situations make DIY the wrong call. Run through this checklist before you start.
Stop and consult a professional if:
- The badge appears integrated into the wheel face or carbon layup.
- You can see visible structural mating surfaces around the badge.
- The fastener type is unknown or not accessible from the front.
- There is evidence of previous damage or repair in the badge area.
- The wheel is under an active manufacturer warranty.
- The finish is autoclave-cured carbon fiber with a clear resin surface.
- The wheel has high resale value and any finish damage would be unacceptable.
Who to contact:
- The wheel manufacturer or original maker (E6 Forged, or whoever made the wheel): ask specifically about mounting method, cap replaceability, and warranty impact before any modification.
- A certified wheel repair or refinishing shop: for powder-coat repair, re-machining, or structural cap replacement.
- An experienced wheel-detailing specialist: for adhesive removal, paint correction, and finish restoration.
What to document before you call:
- Front and reverse photos of the badge and mounting area.
- Serial number, part number, or any markings on the cap or wheel face.
- Close-up photos of the finish condition around the badge.
Pro Tip: When contacting a manufacturer, ask three specific questions: What is the mounting method? Is the cap or badge a replaceable part? Will removal affect the wheel warranty? Those three answers tell you everything you need to decide.
Less-invasive alternatives that achieve the same look
Full debadging is not always the right move. Several alternatives deliver a cleaner aesthetic without the structural risk.
- Plain center cap swap: replace the branded cap with an unbranded or color-matched cap. Verify bore diameter, retaining tab style, and offset before ordering. This is fully reversible and has no finish risk.
- Vinyl overlay: a matte or color-matched vinyl film over the existing badge. Reversible, zero adhesive contact with the wheel finish, and available in custom colors.
- Hub-centric cap conversion kit: replaces the OEM-style cap with a precision-fit billet or forged cap. Fitment data required: center bore diameter and retaining tab configuration.
- Matte or gloss cap swap: for E6 Forged monoblock wheels, cap options are part of the original configuration spec, making a factory-matched swap straightforward.
Alternatives are preferable when the mounting method is unknown, the wheel is under warranty, or the badge is on an autoclave-cured carbon face. A vinyl overlay adds less than a gram and has no effect on wheel balance. A cap swap may require a balance check if the replacement cap differs in weight from the original.
Pro Tip: For Mercedes-AMG, Lexus LC500, McLaren, and Lamborghini platforms, center cap bore diameters and retaining tab configurations vary by model year and wheel generation. Always confirm fitment data with the wheel manufacturer before ordering replacement caps.
Key Takeaways
Safely removing badges from bespoke forged or autoclave-cured carbon wheels requires identifying the mounting method first, using only soft tools with low heat, and consulting the manufacturer before touching any riveted, bolted, or integrated badge.
| Point | Details |
|---|---|
| Identify before you touch | Determine adhesive, press-fit, clipped, or bolted mounting before selecting any tool or technique. |
| Soft tools only | Plastic picks and nylon pry bars protect powder-coated and machined faces; metal tools cause irreversible damage. |
| Low heat, shallow angle | 30–60 seconds with a hair dryer softens adhesive without scorching the finish; pull at a shallow angle to minimize transfer. |
| Stop for rivets and bolts | Bolted or riveted badges require back-side access and professional handling; never pry or heat from the face. |
| E6 Forged consultation | For bespoke forged or autoclave-cured carbon wheels, contact E6 Forged before any modification to confirm cap replaceability and warranty status. |
The E6 Engineering perspective on debadging bespoke wheels
The conventional wisdom treats debadging as a simple cosmetic task. For a mass-market cast wheel with a peel-off sticker, that is accurate. For a bespoke forged monoblock or a multi-piece wheel with tight machined tolerances, it is not.
Monoblock forged construction means the center cap area is often machined to tight tolerances, and the cap itself may be a precision-fit component. Forcing a pry tool into that interface does not just risk the finish. It risks the dimensional integrity of the cap seat. Multi-piece designs add another variable: the center cap fasteners may also serve as barrel-assembly fasteners, meaning improper removal can affect bolt torque and, by extension, structural integrity.
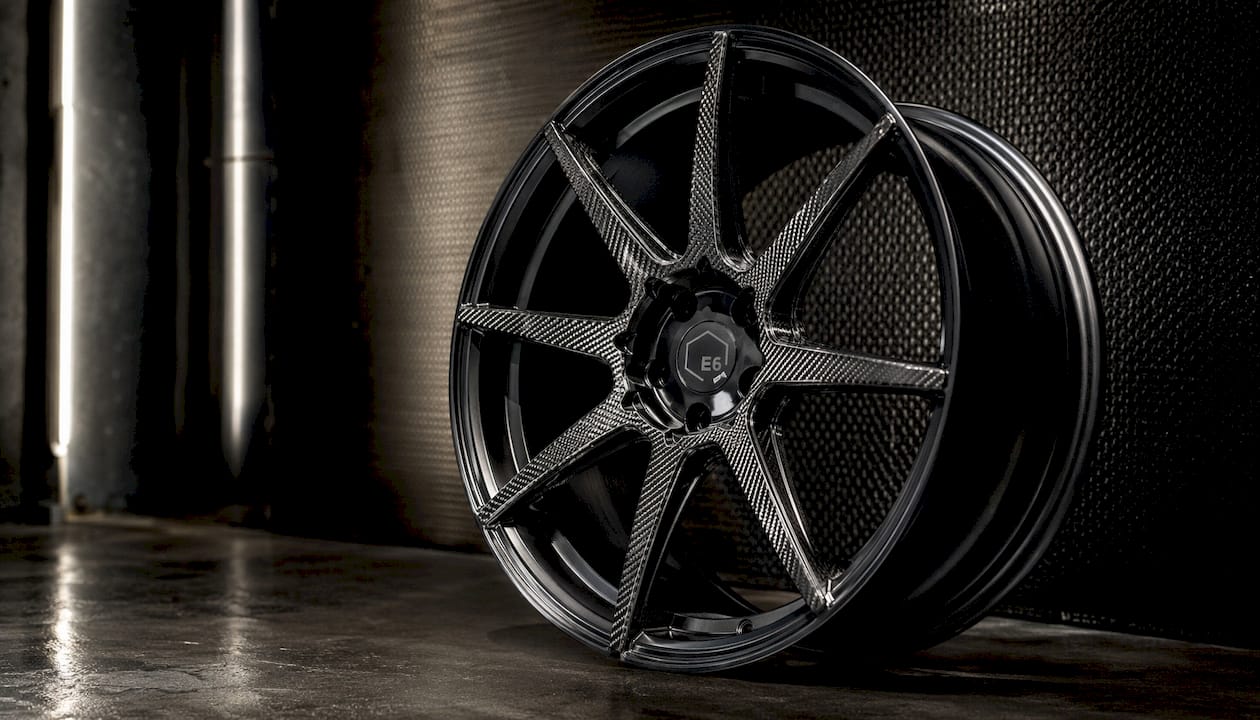
Autoclave-cured carbon faces are the most unforgiving surface in this category. The 2×2 twill weave and resin surface that gives these components their visual depth is also what makes them sensitive to localized heat and mechanical stress. A heat gun at the wrong distance can cause micro-delamination that is invisible until the finish begins to lift.
E6 Engineering’s position is straightforward: for Mercedes-AMG platforms running E6 Forged multi-piece wheels, for Lexus LC500 builds with autoclave-cured carbon components, and for McLaren and Lamborghini applications where unsprung weight reduction is a design priority, manufacturer consultation before any badge modification is not optional. It is the only approach consistent with fitment-first engineering.
E6 Forged wheels: factory-safe configuration from the start
The cleanest solution to badge removal risk is a wheel configured correctly from the factory. E6 Forged bespoke wheels are engineered to spec for Mercedes-AMG, Lexus LC500, McLaren, and Lamborghini platforms, with cap configurations selected at the build stage.
For buyers who want a guaranteed, warranty-safe outcome without the risk of finish damage or structural compromise, E6 Forged wheels offer monoblock, multi-piece, beadlock, and AeroDisc configurations built to your exact fitment spec. Cap style, finish, and branding are part of the original engineering brief, not an afterthought. If you are already running E6 Forged wheels and want to explore a cap swap or finish change, the engineering team can confirm mounting method, replaceability, and warranty impact before you touch anything. Browse the full E6 Forged wheel catalog or review why forged aluminum outperforms cast and flow-formed alternatives for the platforms that matter.
Useful sources and next steps
Before attempting any badge removal on a bespoke or high-value wheel, gather the following:
- Serial or part number from the wheel face or packaging.
- Photos of the badge front and reverse, plus the surrounding finish.
- The wheel manufacturer’s finish and repair bulletin, if available.
Recommended references:
- Contact E6 Engineering directly via e6carbon.com to confirm cap mounting method and warranty status for E6 Forged wheels.
- Review Avery Dennison and 3M removal guidance for adhesive softening and shallow-angle lift technique.
- For professional adhesive removal and finish restoration, consult a certified detailing specialist.
- For powder-coat repair or full wheel refinishing, engage a certified wheel refinisher with experience on forged and machined surfaces.
- Review E6 Carbon’s artisan wheel finishes guide for finish-specific handling guidance before any modification.
FAQ
Is it legal to remove badges from performance wheels in the US?
Removing cosmetic emblems from a personally owned vehicle is generally legal in the US. The only prohibited removals involve VIN plates or safety and emissions markings.
Can you debadge autoclave-cured carbon fiber wheels safely?
Carbon faces require extra caution. Localized heat and metal tools risk micro-delamination of the resin surface; consult the manufacturer before attempting any removal on autoclave-cured components.
What is the safest tool for removing adhesive wheel badges?
A plastic pick or nylon pry bar, used after 30–60 seconds of low heat from a hair dryer, is the standard approach recommended by professional detailers for adhesive badge removal.
When does badge removal affect wheel warranty?
Any modification, including badge removal, can affect warranty coverage if it causes damage or alters a structural component. Contact E6 Forged or your wheel manufacturer before modifying to confirm the warranty impact for your specific wheel.
What should you do if badge removal leaves ghosting or finish damage?
Light ghosting responds to machine polishing with a mild compound. Severe ghosting, powder-coat damage, or finish dulling typically requires a professional paint-correction or wheel refinishing service.