Installing forged wheels on your luxury or racing vehicle requires precision and attention to detail. Improper torquing accounts for 85% of forged wheel installation failures, leading to cracked hubs, damaged studs, and serious safety risks. This comprehensive guide walks you through the exact process professionals use to install forged wheels correctly, ensuring optimal performance and longevity. You’ll learn the critical steps, tools needed, and common mistakes to avoid for a safe, vibration-free installation.
Table of Contents
- Prerequisites: Tools And Vehicle Preparation
- Step 1 To 3: Lifting, Removing Existing Wheels, And Hub Preparation
- Step 4 To 5: Mounting And Tightening Forged Wheels
- Step 6 To 7: Safety Verification And Re-Torqueing
- Common Mistakes To Avoid And Troubleshooting Tips
- Expected Results And Installation Timeline
- Explore Premium Forged Wheels And Upgrades At E6 Carbon
- Frequently Asked Questions
Key takeaways
| Point | Details |
|---|---|
| Proper preparation is essential | Gather calibrated torque wrench, hydraulic jack, rated jack stands, and anti-seize compound before starting. |
| Follow precise torque sequences | Use star pattern tightening and manufacturer-specified torque values to ensure even wheel seating and prevent damage. |
| Re-torque after initial break-in | Check and re-torque lug nuts after first 50-100 miles to compensate for settling and maintain safety. |
| Hub preparation prevents issues | Clean hub surfaces thoroughly and apply anti-seize to prevent corrosion, vibration, and uneven fit. |
| Avoid common installation errors | Never over-tighten, skip cleaning steps, or use uncalibrated impact wrenches for final torque. |
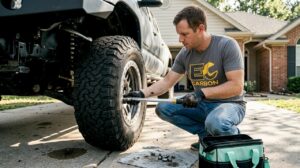
Prerequisites: tools and vehicle preparation
Before touching your forged wheels, assemble the right tools and prepare your workspace. A calibrated torque wrench is non-negotiable because it ensures you meet manufacturer specifications without over-tightening. Use a hydraulic floor jack rated for your vehicle’s weight and pair it with jack stands that meet or exceed your vehicle’s specifications.
You’ll need these essential items:
- Calibrated torque wrench (beam or click-type)
- Hydraulic floor jack and rated jack stands
- Anti-seize compound (copper or nickel-based)
- Wire brush and cleaning solvent
- Gloves and safety glasses
- Wheel chocks
- Torque sticks (optional for initial tightening)
- Soft cloth for wheel surface cleaning
Prepare your workspace on level, stable ground. Never attempt installation on an incline or soft surface where jack stands might sink. Set the parking brake and place wheel chocks behind the wheels that will remain on the ground. Gather all tools within reach before lifting the vehicle.
| Tool | Purpose | Specification |
|---|---|---|
| Torque wrench | Final lug nut tightening | Calibrated to vehicle specs (typically 80-110 Nm) |
| Hydraulic jack | Lift vehicle safely | Rated for vehicle weight plus 50% safety margin |
| Jack stands | Secure vehicle while working | Minimum 3-ton rating for most performance vehicles |
| Anti-seize | Prevent hub corrosion | Copper or nickel-based, high-temperature rated |
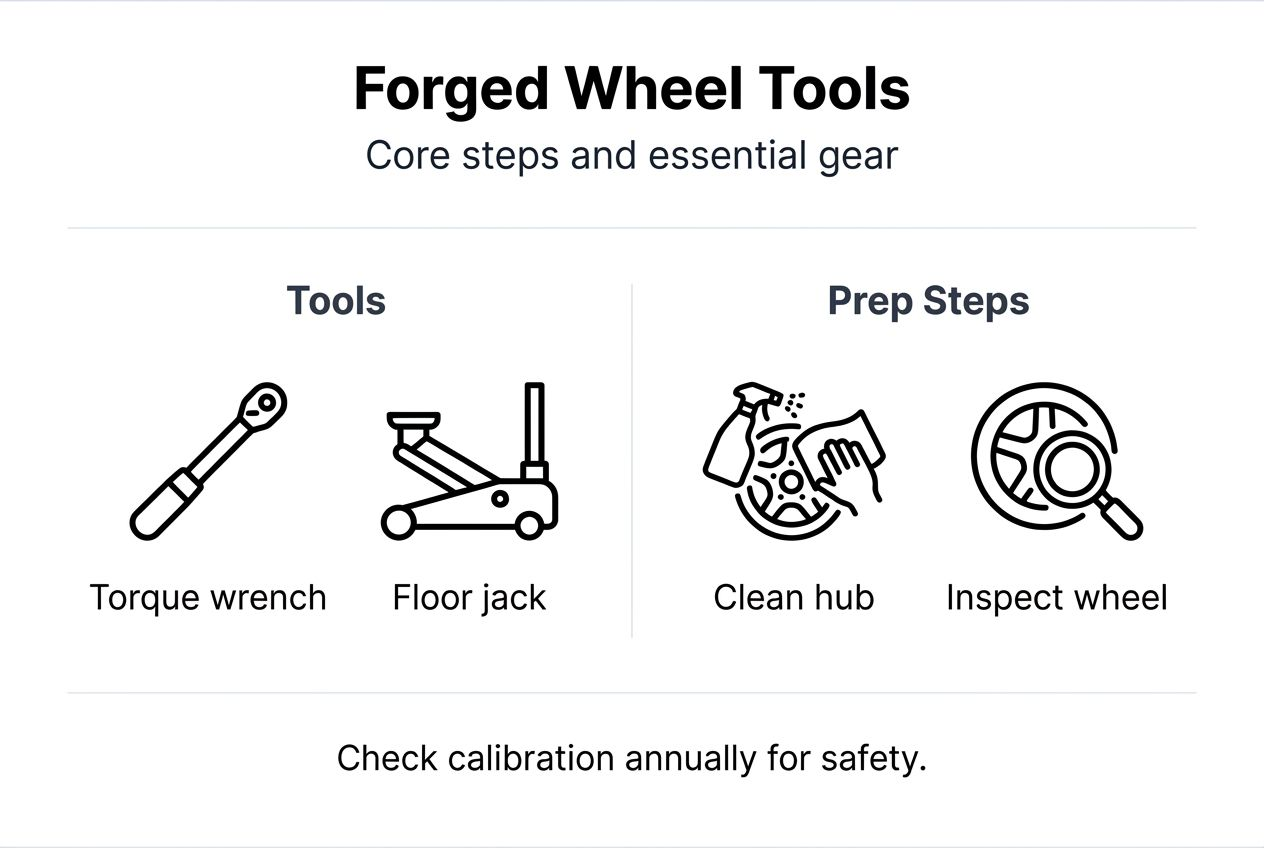
Pro Tip: Test your torque wrench calibration annually or after dropping it. A poorly calibrated wrench can lead to under or over-tightening, both of which compromise safety.
Wear protective gloves to shield your hands from sharp edges, hot components, and chemical exposure. Safety glasses prevent debris from entering your eyes during hub cleaning. Review your vehicle’s owner manual for specific torque specifications and any manufacturer warnings. Investing in a performance wheel upgrade guide 2026 helps you understand compatibility and optimal specifications for your specific vehicle.
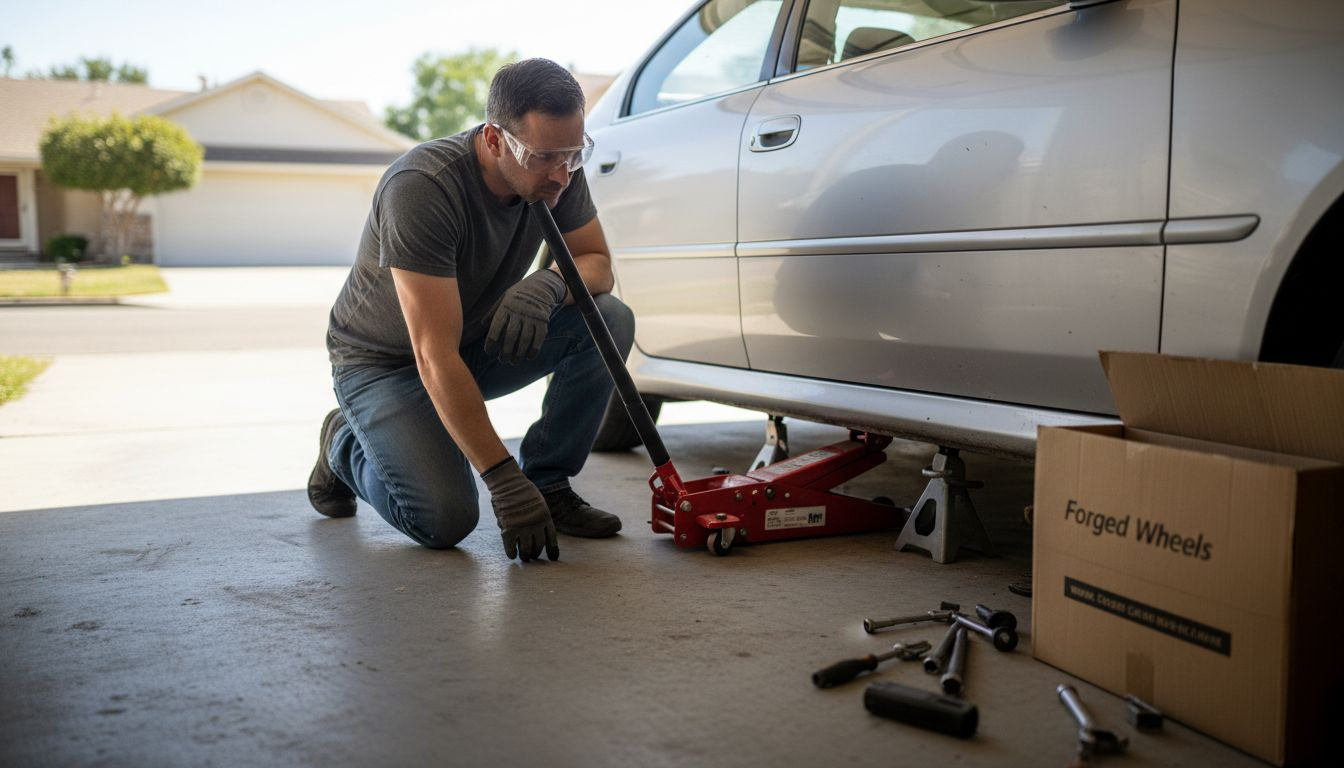
Step 1 to 3: lifting, removing existing wheels, and hub preparation
Start by loosening each lug nut approximately one full turn while the vehicle remains on the ground. This prevents the wheel from spinning when you apply force. Position your hydraulic floor jack under the manufacturer-designated lift point, typically reinforced areas near the front or rear axles.
Follow these lifting steps in order:
- Loosen lug nuts one full turn while vehicle is on ground
- Position hydraulic jack under designated lift point
- Raise vehicle until wheel clears ground by 2-3 inches
- Slide rated jack stands under frame rails or designated support points
- Lower vehicle slowly onto jack stands, keeping jack in place as backup
- Shake vehicle gently to verify stability before working
Use hydraulic floor jack and jack stands to safely secure vehicle before removing wheels completely. Never rely solely on a hydraulic jack because seals can fail without warning. Once the vehicle rests securely on jack stands, remove the loosened lug nuts completely using a star or crisscross pattern.
Keep lug nuts organized by wheel position in case they have different lengths or specifications. Remove the existing wheel carefully, supporting its weight to prevent dropping. Set it aside on a soft surface or tire cushion to prevent scratching.
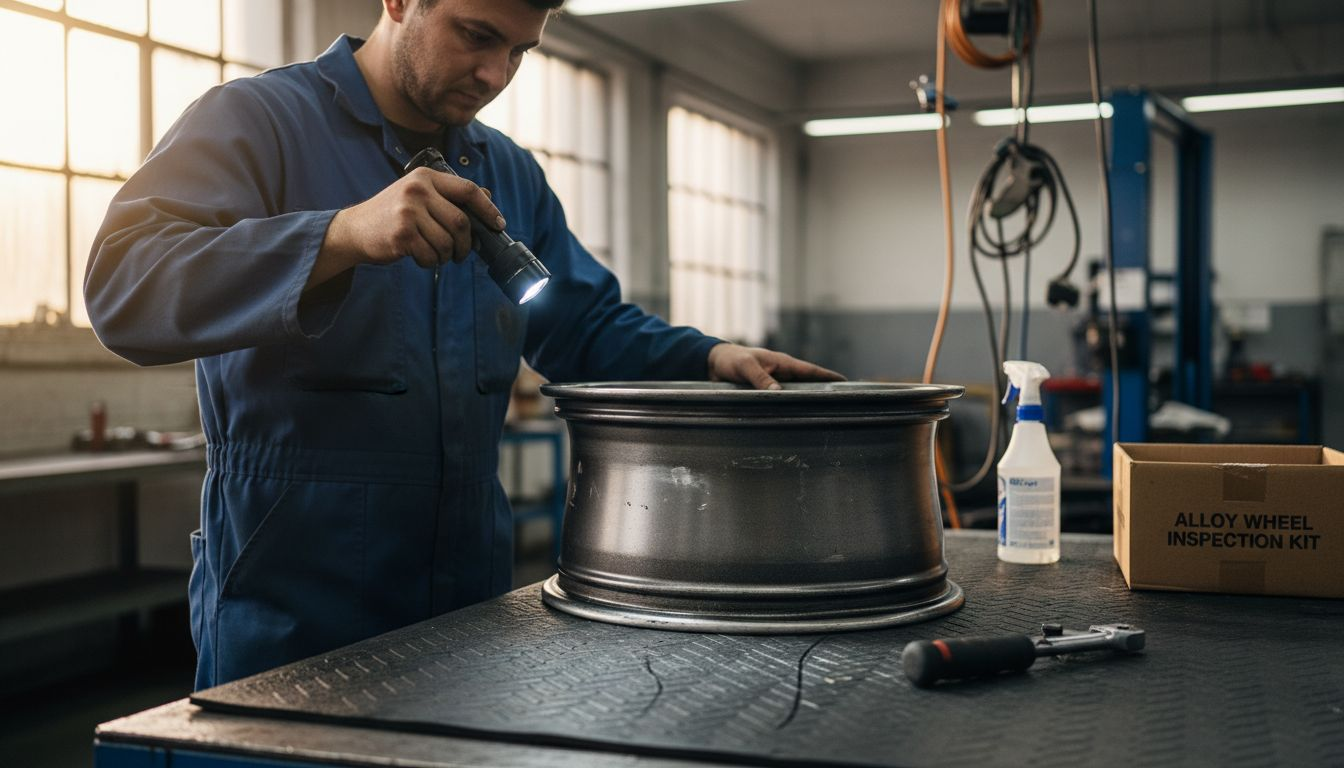
Now prepare the hub surface:
- Inspect hub for damage, cracks, or excessive rust
- Use wire brush to remove rust, debris, and old anti-seize
- Clean hub face with solvent and lint-free cloth
- Ensure hub surface is completely smooth and flat
- Apply thin, even layer of anti-seize compound to hub contact surface
- Avoid getting anti-seize on wheel studs or lug nut threads
Examine your new forged wheel for shipping damage, cracks, or imperfections before mounting. Check the valve stem hole and ensure the wheel matches your vehicle’s bolt pattern and offset specifications. Understanding wheel customization 2026 options helps you verify fitment before installation. Clean the wheel’s inner mounting surface with a soft cloth to remove any protective oils or debris.
Step 4 to 5: mounting and tightening forged wheels
Align the forged wheel carefully with the hub, matching bolt holes precisely. Lift the wheel onto the hub, ensuring it sits flush against the hub face without gaps. Thread each lug nut by hand onto the studs to prevent cross-threading, which ruins threads and compromises safety.
Follow this mounting sequence:
- Lift wheel onto hub, aligning all bolt holes
- Thread first lug nut by hand until snug
- Thread remaining lug nuts by hand in star pattern
- Finger-tighten each lug nut firmly but without tools
- Use lug wrench to snug lug nuts in star pattern (25-30% torque)
- Lower vehicle until wheel touches ground but doesn’t bear full weight
- Apply final torque in star pattern using calibrated torque wrench
Proper wheel installation begins with finger-tightening, then tightening lug nuts in crisscross/star pattern to manufacturer specifications. The star pattern ensures even pressure distribution across the wheel face. For five-lug wheels, tighten in a star pattern (1-3-5-2-4). For six-lug wheels, use opposite pairs (1-4, 2-5, 3-6).
Never use an impact wrench for final torque because it applies inconsistent force and often over-tightens. Set your torque wrench to your vehicle’s specified value, typically between 80-110 Nm for most performance vehicles. Apply steady, smooth pressure until the wrench clicks, indicating proper torque.
“Achieving proper torque isn’t just about tightness. It’s about even clamping force across all lug nuts, which prevents warping and ensures the wheel seats correctly on the hub.”
Pro Tip: Mark each lug nut with a paint pen or marker after final torque. Position the mark so it points toward the wheel center. Any rotation of the mark indicates the lug nut is loosening, allowing for quick visual inspection during routine checks.
Torque each lug nut in the star pattern twice, making a complete second pass to ensure even seating. The first pass may cause slight settling, and the second pass confirms all nuts reached proper torque. This double-pass method is especially important for forged wheels due to their precision machining. Exploring show car wheel guide resources helps you understand how proper installation affects both aesthetics and performance.
Step 6 to 7: safety verification and re-torqueing
After installing all wheels and lowering the vehicle completely, perform a thorough safety check. Walk around the vehicle and visually inspect each wheel for proper seating. Look for gaps between the wheel face and hub, which indicate improper installation or contamination preventing full contact.
Complete these verification steps:
- Check all lug nuts are flush and seated properly
- Verify no gaps exist between wheel and hub surface
- Spin each wheel by hand to check for rubbing or resistance
- Look for any wobble or lateral movement
- Listen for unusual sounds when rotating wheels
- Confirm valve stems are accessible and not bent
Re-torque forged wheel lug nuts after the first 50-100 miles of driving to maintain safety and prevent vibration. Initial driving causes microscopic settling of contact surfaces, which can reduce clamping force. Schedule this re-torque check within the first week of installation.
During your first test drive, pay attention to steering feel and any vibrations. Start with low-speed maneuvers in a parking lot, gradually increasing speed while monitoring for issues. Any vibration, wobble, or unusual handling characteristics require immediate investigation.
“Vibration after wheel installation almost always indicates a problem. Don’t ignore it. Pull over safely and check lug nut torque immediately. Continuing to drive risks wheel detachment and serious accidents.”
Check your lug nuts again after 25 miles, 50 miles, and 100 miles during the break-in period. Carry your torque wrench in the vehicle during this time for roadside verification if needed. After the initial break-in, inspect lug nuts monthly and before any track days or spirited driving sessions.
Establish a regular inspection schedule that includes visual checks of wheel condition, lug nut tightness, and signs of damage. Forged wheels are durable but not indestructible. Curb strikes, potholes, and impacts can cause hidden damage that worsens over time. Reviewing the performance wheel upgrade guide 2026 provides ongoing maintenance insights specific to high-performance applications.
Common mistakes to avoid and troubleshooting tips
Many installation failures stem from easily avoidable mistakes. Over-tightening ranks as the most common error, causing cracked wheels, stretched studs, and warped hubs. Some enthusiasts mistakenly believe tighter equals safer, but excessive torque damages precision-machined forged wheels.
Avoid these critical mistakes:
- Using impact wrenches for final torque without calibrated torque sticks
- Skipping hub cleaning, leaving rust and debris between surfaces
- Tightening lug nuts in circular pattern instead of star pattern
- Forgetting to re-torque after initial break-in period
- Applying anti-seize to lug nut threads instead of hub face only
- Installing wheels on corroded or damaged hubs
- Mixing lug nuts from different wheel sets
Incorrect torquing accounts for 85% of forged wheel installation failures including cracks, hub damage, and bolt shearing. When you over-tighten, the excessive force stretches wheel studs beyond their elastic limit. This creates permanent deformation that weakens the stud and increases failure risk.
Skipping cleaning wheel studs and hub surfaces causes uneven seating and vibration, affecting safety. Even microscopic debris prevents the wheel from sitting flush against the hub, creating high spots that cause imbalance and vibration at speed.
Pro Tip: Create a simple torque pattern chart and laminate it. Keep this chart in your glove box along with your vehicle’s specific torque specifications. This reference ensures you never guess at the proper sequence or values.
| Common Failure | Root Cause | Corrective Action |
|---|---|---|
| Vibration at speed | Uneven lug nut torque or dirty hub | Re-torque in star pattern, clean and reinstall |
| Cracked wheel face | Over-tightening lug nuts | Replace wheel, use torque wrench at correct spec |
| Loose lug nuts | Skipped re-torque or under-torquing | Re-torque to spec, check after 50 miles |
| Wheel wobble | Damaged hub or improper seating | Inspect hub for damage, verify wheel fitment |
| Stripped threads | Cross-threading or impact wrench abuse | Replace studs, use hand-threading technique |
If you experience persistent vibration after proper installation, have the wheels balanced by a professional with equipment designed for forged wheels. Balancing compensates for minor weight variations and tire irregularities. Understanding wheel customization 2026 principles helps you recognize when professional balancing or alignment is necessary.
When troubleshooting, always start with the simplest explanation. Loose lug nuts are more common than bent wheels. Verify torque before assuming catastrophic damage. Consulting resources on common repair mistakes demonstrates how attention to detail prevents problems across precision work disciplines.
Expected results and installation timeline
Plan 60 to 90 minutes per axle for a complete forged wheel installation when following proper procedures. Rushing compromises safety and increases mistake probability. First-time installers should budget extra time for familiarization and double-checking each step.
Proper installation delivers measurable benefits:
- Improved handling response from reduced unsprung weight
- Enhanced steering precision due to optimal wheel geometry
- Eliminated vibration through even torque distribution
- Extended wheel longevity from correct installation practices
- Increased safety with proper clamping force and re-torque schedule
- Better brake cooling from improved wheel design airflow
Forged wheels reduce rotational mass compared to cast wheels, improving acceleration and braking performance. You’ll notice sharper turn-in response and more communicative steering feedback. These benefits only materialize when installation meets exacting standards.
The re-torque schedule is not optional. Factor it into your timeline expectations. After the initial 50 to 100 miles, allocate 15 minutes per axle for re-torque verification. This small time investment prevents potentially catastrophic wheel detachment.
Building confidence in DIY installation saves money on professional mounting fees and empowers you to maintain your performance vehicle properly. Each installation becomes faster as you internalize the process. Many enthusiasts complete axle installations in 45 minutes after gaining experience.
Tracking your installation times and creating personal checklists improves consistency. Document torque specifications, re-torque dates, and any observations in a maintenance log. This record proves invaluable for future reference and vehicle resale documentation. Leveraging insights from the performance wheel upgrade guide 2026 helps you optimize installation techniques for specific vehicle platforms.
Explore premium forged wheels and upgrades at E6 Carbon
Now that you understand proper forged wheel installation, choosing the right wheels becomes equally important. E6 Carbon specializes in precision-engineered forged wheels designed for luxury and racing applications. Our E6 Forged SS7 multipiece wheels and E6 Forged AR03 multipiece wheels deliver the perfect balance of strength, weight reduction, and aesthetic appeal.

Every E6 forged wheel undergoes rigorous quality control to ensure precise hub-centric fitment and optimal balance characteristics. Our multipiece designs allow for custom finishes and sizing options that complement your vehicle’s unique specifications. When you pair premium wheels with proper installation techniques, you maximize performance potential and ensure long-term reliability.
Pro Tip: Purchasing from a specialist manufacturer like E6 Carbon ensures you receive wheels engineered to exact tolerances, making installation easier and results more predictable. Generic wheels often have fitment variations that complicate proper installation.
Explore our complete range of forged wheels and carbon fiber upgrades. Our performance wheel upgrade guide 2026 helps you select the ideal wheelset for your specific vehicle and driving style. Whether you’re building a show car or preparing for track days, E6 Carbon delivers the precision components your project demands.
Frequently asked questions
How often should I re-torque forged wheel lug nuts?
Re-torque your lug nuts after the first 50 to 100 miles of driving following installation. This initial check compensates for microscopic settling that occurs as contact surfaces mate fully under load. After this break-in period, check lug nut torque monthly during routine maintenance and before any track events or extended highway trips. Regular verification prevents gradual loosening that leads to vibration and potential wheel detachment. If you frequently drive on rough roads or experience harsh impacts, increase inspection frequency to bi-weekly checks.
Can I use an impact wrench to tighten forged wheel lug nuts?
Avoid using impact wrenches for final torque application because they deliver inconsistent force and frequently over-tighten. Impact wrenches are acceptable for initial snugging if you use calibrated torque sticks, but always complete final torque with a calibrated torque wrench. The precise clamping force required for forged wheels demands controlled application that only manual torque wrenches provide. Over-tightening from impact wrenches causes thread damage, stud stretching, and wheel cracking that compromise safety and require expensive repairs.
What safety gear is recommended during forged wheel installation?
Wear protective gloves to shield your hands from sharp wheel edges, hot brake components, and chemical exposure from cleaning solvents and anti-seize compounds. Safety glasses prevent debris from entering your eyes during hub surface preparation and wire brushing. Steel-toed shoes protect your feet if you accidentally drop a heavy forged wheel. Work in a well-ventilated area when using solvents or cleaners, and keep a first aid kit nearby for minor cuts or abrasions that can occur during installation.