TL;DR:
- Proper wheel preparation for track driving requires thorough inspection, cleaning, and staged torquing to ensure safety and performance. Critical steps include inspecting hub surfaces and bearings, cleaning mating surfaces, hand-threading lug nuts, and re-torqueing after initial driving, with careful attention to tools and workspace. Skipping surface prep and proper re-torqueing increases risks of wheel looseness, vibrations, and catastrophic failure during high-speed events.
If you’ve ever felt unexpected vibration at 90 mph or walked up to your car after a session to find a lug nut spinning loose, you already know the cost of skipping proper wheel prep. Knowing how to prep track wheels correctly is the difference between a clean lap and a very bad day. The process covers far more than a quick torque check. From hub surface condition to tire pressure strategy, every step matters. This guide walks you through exactly what to do, in the right order, with nothing left out.
Table of Contents
- Key takeaways
- How to prep track wheels: tools and materials you need first
- Step-by-step track day wheel prep process
- Common mistakes in track wheel prep
- Verifying your setup for track performance
- My take on what most guides miss
- Track-ready wheels built for the prep process
- FAQ
Key takeaways
| Point | Details |
|---|---|
| Start with a full inspection | Check wheel bearings, hub surfaces, and studs before every track session. |
| Clean before you mount | Dirty or corroded mating surfaces cause uneven torque and loose wheels. |
| Torque in stages, not all at once | Hand-tighten in a star pattern first, then apply final torque values. |
| Re-torque after the first drive | Wheels can settle after initial use and must be verified before pushing hard. |
| Match tire pressure to conditions | Start 6 to 8 psi higher than street specs and adjust based on hot readings post-session. |
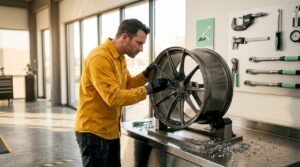
How to prep track wheels: tools and materials you need first
Before you touch a single lug nut, you need the right tools on the bench. Walking into this process without them is where most amateur racers run into trouble. The good news is that the list is manageable and most of it lives in any serious garage.
Here is what you need to gather before starting:
- Torque wrench (calibrated, covering your car’s spec range, typically 80 to 120 ft-lbs)
- Jack stands rated for your vehicle’s weight, plus a quality floor jack
- Wire brush and brake cleaner for cleaning hub and wheel mating surfaces
- Anti-seize compound for stud threads if switching between alloy and carbon fiber wheels
- Wheel weights and access to a professional balancer
- Centering rings if your wheels are hub-centric and the bore size differs from the hub
- Replacement lug nuts matching the seat type of your specific wheels (conical vs. ball seat)
One item many people overlook is stud length. Carbon fiber hubs require longer studs than standard alloy wheels, and running incorrect stud engagement is a genuine safety failure waiting to happen. Check your thread engagement minimums before assuming your current studs work with a new wheel setup.
| Tool | Purpose |
|---|---|
| Calibrated torque wrench | Consistent, correct final torque on lug nuts |
| Wire brush and brake cleaner | Remove corrosion and debris from mating surfaces |
| Anti-seize compound | Prevent galling on studs during repeated wheel changes |
| Centering rings | Correct hub-to-bore fit on non-OEM wheel fitments |
| Wheel balancer access | Eliminate vibration from mass imbalance before track use |
Workspace matters too. You want a flat, level surface with good lighting. Track wheel prep done in a dimly lit driveway with a cheap scissor jack is not prep. It’s guesswork.
Step-by-step track day wheel prep process
This is where the track day wheel prep process actually begins. Follow these steps in order. Skipping ahead or combining steps introduces error.
Let wheels cool completely. Allow at least 30 minutes after a track session before doing anything. Washing or handling hot wheels causes rapid temperature change that can micro-crack finishes and warp rotors.
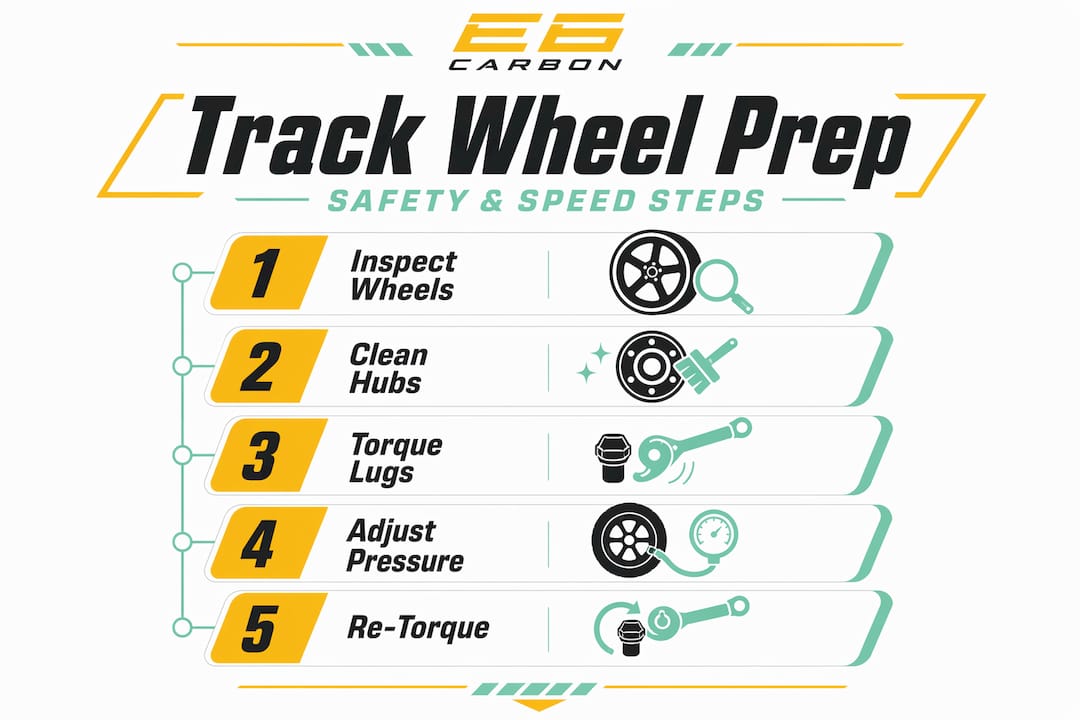
Inspect wheel bearings for play. Jack the car securely on stands and grab the wheel at the 12 and 6 o’clock positions. Rock the wheel at these positions firmly. Any perceptible movement means bearing wear that must be addressed before going back on track. Track loads accelerate bearing failure fast.
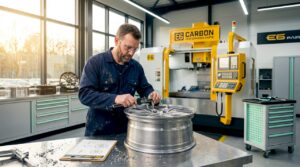
Examine hub and wheel mating surfaces. Look for heat discoloration, metal shavings, rust, or corrosion buildup. Inspect for heat discoloration or metal shavings on both surfaces. Any of these signs means you clean and investigate before mounting.
Clean all mating surfaces. Use brake cleaner and a wire brush on both the hub face and the wheel center bore. Corrosion and grime underneath the wheel are a major cause of torque loss and vibration that people incorrectly blame on balancing.
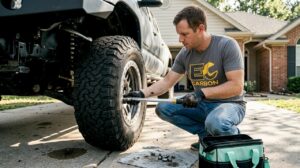
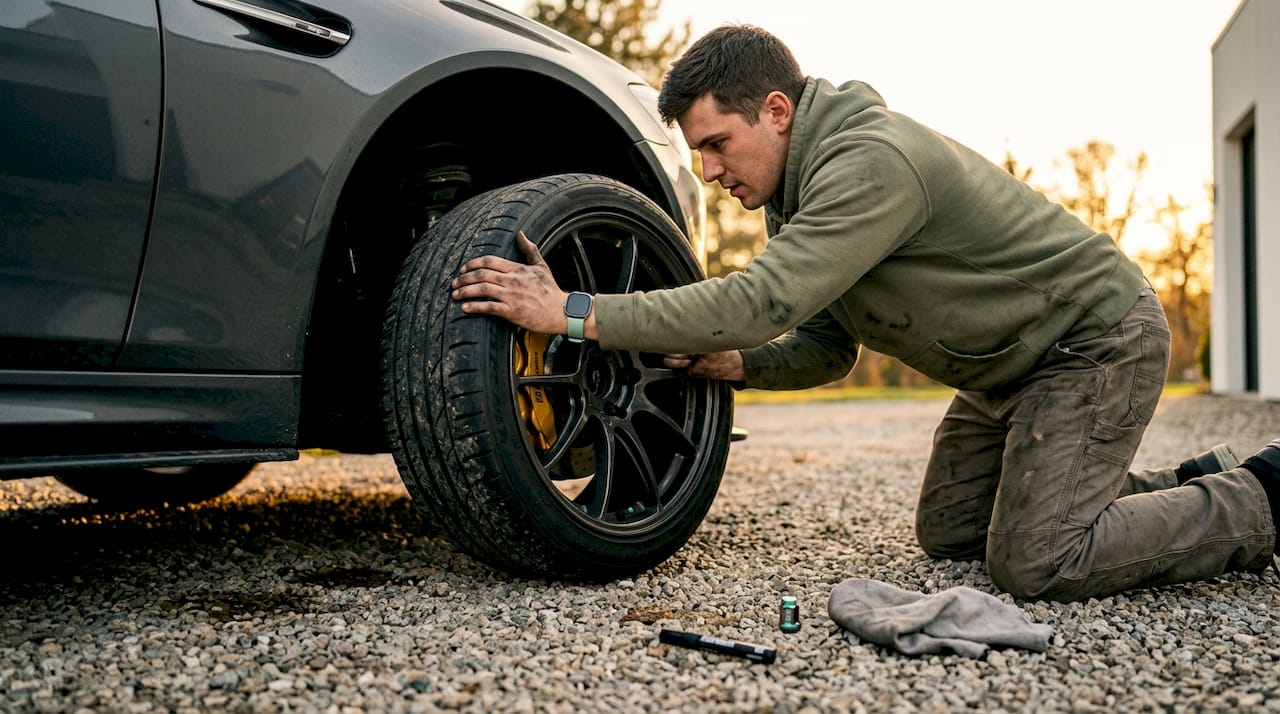
Mount the wheel by hand first. Thread each lug nut by hand until it’s snug. Then tighten in a star pattern across opposing studs. Never rely on a torque wrench to seat the wheel. Hand-seating first prevents cross-threading and uneven clamping.
Apply final torque in the star pattern. Consult your vehicle’s specific torque specification. Apply torque progressively, making two or three passes in the star pattern until you reach spec.
Balance the wheel and tire assembly. Mount the wheel on the balancer from the backside to replicate how the hub actually contacts the wheel. Use proper back-cone mounting with correct centering cones. Low-quality cones introduce runout that shows up as vibration at speed.
Pro Tip: When balancing, verify you’re using the correct centering cone for your specific bore diameter. Using an undersized cone is one of the most common causes of vibration that survives a balance job.
Common mistakes in track wheel prep
Even experienced drivers make these errors. Knowing them in advance prevents the frustrating troubleshooting sessions that follow.
- Over-torqueing or under-torqueing lug nuts. Both create problems. Over-torque stretches studs and makes future removal dangerous. Under-torque leads to wheel movement and progressive loosening under lateral load.
- Skipping the hub cleaning step. Dirty mating surfaces create a false torque reading. The wrench clicks but the clamping force is actually lower than spec.
- Confusing wheel balancing with corner balancing. These are two entirely different procedures. Corner balancing optimizes weight distribution across all four contact patches and should precede final alignment. Wheel balancing addresses mass imbalance in the wheel and tire assembly itself. Both matter. Neither replaces the other.
- Ignoring bearing inspection. You cannot see or hear a marginal bearing until it fails. At track speeds with lateral loads, that failure is catastrophic.
- Using the wrong lug nut seat type. Conical seat lug nuts on a ball seat wheel will tighten without actually clamping correctly. The assembly feels tight but it isn’t.
Most vibration issues at track speeds trace back to improper wheel mounting rather than tire defects. Before blaming the tire, verify that the wheel was mounted correctly on the balancer and that the hub surface was clean at installation.
For stuck wheels, never pry from the face or strike the barrel. Lower the car slightly to load the tire, then apply controlled force from inside the wheel. Striking the rim causes damage that compromises structural integrity.
Verifying your setup for track performance
The step-by-step racing wheel prep process is not finished when the lug nuts are tight. Verification is where you turn prep into confidence.
Tire pressure is your first variable to dial in. For a track session, start 6 to 8 psi above your street cold pressure as a baseline, then check hot pressures immediately after a full session lap. Adjust cold pressures at home so your hot target lands in the right window for your tire compound. Most performance street tires want to be in the 32 to 36 psi range hot. High-performance track compounds have narrower windows and manufacturer-specific targets.
Re-torque after your first short drive. This is non-negotiable. Wheel mounting surfaces settle slightly under the initial load of driving and braking. Verify torque after a short drive and brake application before committing to full track speeds.
Check brake system readiness as part of your wheel prep routine. The two systems are tightly related. Standard brake fluid boils at 446°F, while racing fluid handles 594°F and above, and caliper temperatures routinely exceed 500°F on track. If you’re changing wheels, you’re already under the car. Check your fluid, inspect pads for even wear, and look for rotor heat discoloration or cracking at the same time.
Pro Tip: Mark your lug nuts with a paint pen after final torque. If any nut rotates between your pre-drive check and your track session, you’ll know immediately without needing to recheck every fastener by hand.
Understanding how wheel choice impacts handling also plays into how you set up your pressures and torque specs. Lighter forged wheels change unsprung mass and affect how quickly the suspension responds, which in turn shifts what tire pressure feels right.
My take on what most guides miss
I’ve watched plenty of drivers walk through a standard prep checklist and still end up with vibration on track or a wheel that moves after the first session. The checklist wasn’t wrong. The execution was shallow.
What actually separates clean prep from risky prep is attention to surfaces. In my experience, hub cleaning is the most skipped and most consequential step in the whole process. Drivers see “clean the hub” and hit it with a shop rag. That isn’t the same as removing oxidation with a wire brush and brake cleaner until you can see bare metal. The difference shows up in torque retention under heat cycling.
The other thing I keep coming back to is bearing inspection. I’ve seen wheel bearings that sounded fine and had no noticeable play on the street develop serious movement under just a few laps of lateral load. The 12 and 6 o’clock rock test takes 30 seconds. Skipping it to save time is a trade I’d never make.
Re-torqueing after the first drive is another one that gets dismissed as optional. It isn’t optional. Wheels settle. Fasteners find their final seating position under load. Check them every single time, no exceptions. Build it into your forged wheel installation process as a standard post-drive step, not an afterthought.
My recommendation to anyone building a serious track prep habit is to create a written checklist and follow it in order, every time. Not because the steps are hard, but because skipping one step under time pressure at the track is how avoidable problems happen. The checklist removes the decision.
— Kunal
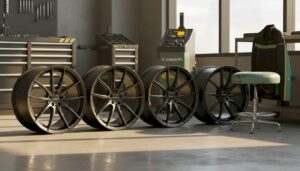
Track-ready wheels built for the prep process

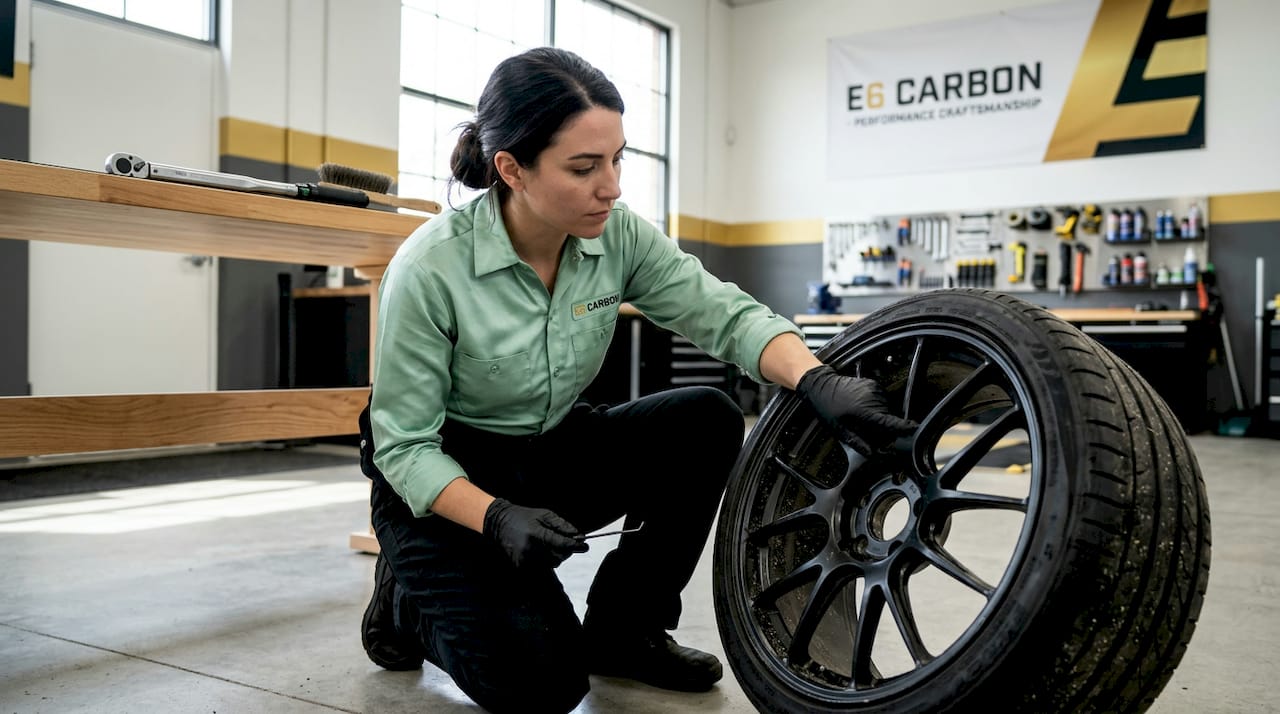
Getting your prep process right starts with knowing your wheels can take what the track demands. E6carbon builds forged and multipiece wheels specifically for the demands of performance driving, and the design philosophy behind every set accounts for the kind of repeated heat cycling, mounting, and torqueing that track use requires.
The AR03 multipiece wheels and AR01 multipiece wheels are built for exactly this type of application. Lightweight forged construction reduces unsprung mass, which makes pressure calibration and alignment work more effective. When you’re doing everything right in prep, you want a wheel that rewards that effort.
E6carbon also provides a detailed forged wheel safety inspection guide covering how to evaluate your wheels after hard track use, and a step-by-step installation guide that walks through every stage of the mounting process with the kind of precision this work demands. If you’re upgrading your setup or want to understand what proper wheel selection looks like alongside proper prep, both resources are worth reading before your next event.
FAQ
How often should you re-torque track wheels?
Re-torque immediately after the first short drive and brake application, then check again before each subsequent session. Wheels settle under initial load and must be verified before full track speeds.
What tire pressure should you start with for a track day?
Begin with cold pressures 6 to 8 psi above your street baseline, then check hot pressures right after a full session and adjust cold settings accordingly to hit your target hot range.
What causes vibration at track speeds after a fresh balance?
Most vibration at speed comes from improper wheel mounting on the balancer, not the tire itself. Verify that back-cone mounting and correct centering cones were used before assuming a rebalance is needed.
Is corner balancing the same as wheel balancing?
No. Wheel balancing corrects mass imbalance in the tire and wheel assembly. Corner balancing adjusts weight distribution across all four corners of the car and should be done before final alignment for track use.
Do you need to change brake fluid when prepping track wheels?
Yes. Racing brake fluid handles over 594°F compared to standard fluid’s 446°F threshold, and caliper temps regularly exceed 500°F on track. Flush to high-temp fluid at minimum once per season before track use.