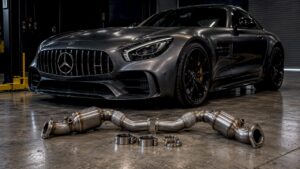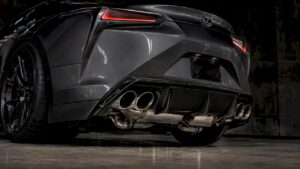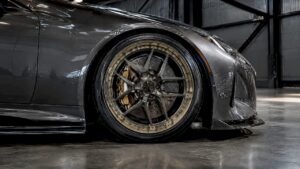

E6 Carbon’s autoclave-cured McLaren rear diffusers and front splitters generate measurable downforce and improved high-speed stability, without adding meaningful weight or disturbing chassis balance. The gains come from 2×2 twill pre-preg construction and Fitment First engineering that holds factory panel gaps and mounting geometry to tight tolerance. Every kit requires professional installation and strict water-sealing at the mounting flange; E6 Carbon accepts no liability for damage caused by improper fitting.
TL;DR:
- Proper fitment matching factory hardpoints and precise mold tooling ensures the aerodynamic parts perform predictably without altering chassis balance.
- Autoclave curing of pre-preg carbon fiber reduces voids and maintains dimensional stability, essential near hot exhaust routes and during thermal cycling.
- The effectiveness of diffusers significantly increases above 80 to 100 mph, with design details like expansion angle and inlet shape critical for optimal downforce.
- Professional installation with thorough water-sealing at mounting points is necessary to prevent moisture damage, with E6 Carbon rejecting liability for improper fitment.
- Model-specific configurations and careful alignment are key, as diffuser and splitter behavior varies across McLaren versions and exhaust layouts.
Table of Contents
- Aerodynamic Performance of E6 Carbon McLaren Rear Diffusers and Splitters
- How Do Splitters and Diffusers Actually Generate Downforce?
- Why Autoclave Pre-Preg Beats Wet Layup for Aero Parts
- Should You Choose a Street or Track Aero Package?
- Model-Specific Notes: 720S, 750S, and 570S
- What Does Professional Installation Actually Require?
- What Drives Price and Lead Time for These Parts?
- What Track Data Backs E6 Carbon’s Aero Engineering?
- Who Should Install These Parts, and What Should You Ask First?
- Why Fitment First Guides Every Aero Decision at E6 Carbon
- Ready to Upgrade Your McLaren’s Aero Package?
- Sources
- FAQ
Aerodynamic Performance of E6 Carbon McLaren Rear Diffusers and Splitters
A splitter and diffuser are not decorative add-ons. They are pressure management tools, and on a McLaren chassis already tuned around factory underbody flow, adding one changes the airflow math at every corner of the car.
The front splitter creates a stagnation zone that pushes high-pressure air over the hood while directing a controlled volume underneath the car. That underfloor air accelerates through the flat-bottom section, dropping in pressure and effectively sucking the nose toward the pavement. The rear diffuser then has to do the harder job: expand that same low-pressure air back to ambient pressure gradually, without provoking flow separation. Get the expansion angle wrong and the diffuser stalls, killing downforce and adding drag with nothing to show for it.
McLaren’s own Formula 1 engineering approach illustrates the tradeoff at the highest level. Flatter floors paired with extended diffusers and larger diffuser openings have replaced the extreme tunnel designs of prior aero regulations, precisely because expansion ratio and exit geometry determine how much downforce a given floor design can recover versus how much drag penalty it carries. The same physics governs a street-legal 720S at 120 mph, just at a smaller scale.
E6 Carbon’s road-going kits apply that logic through 2×2 twill autoclave pre-preg panels rather than a generic aftermarket blank, which matters because the geometry only pays off if it matches factory hardpoints down to the millimeter.
Why the material and the mold both matter
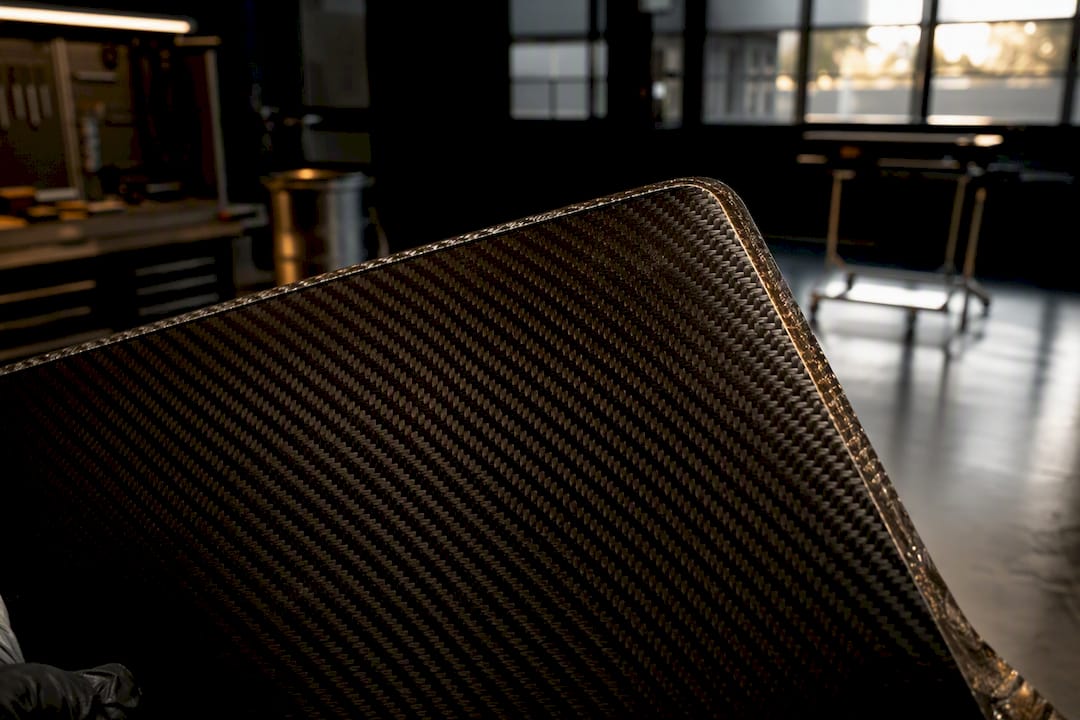
Autoclave curing is the difference between an aero part that behaves predictably and one that flexes under load in ways nobody modeled. Pre-preg carbon fiber arrives pre-impregnated with resin at a fixed ratio, then cures under heat and pressure inside an autoclave chamber, typically 6 to 7 bar. That process squeezes out air pockets and excess resin before the part ever sees a mold flange.
- Void content stays low, which keeps the laminate stiff under aerodynamic load instead of micro-flexing at speed.
- The 2×2 twill weave distributes load across a diagonal pattern, giving the panel torsional rigidity without adding ply count.
- Dimensional stability holds through thermal cycling, which matters directly behind an exhaust outlet where a diffuser lives.
Fitment First production starts with factory-matched jigs and hardpoints, not a scanned aftermarket shell. Every splitter and diffuser is molded against tooling built to preserve the panel gaps McLaren engineered into the 720S, 750S, and 570S bodywork. That is the detail most aftermarket carbon skips, and it is the reason a mismatched diffuser can shift pressure recovery and handling balance even when the material itself is sound.
Pro Tip: Ask any aero part supplier whether their molds are pulled from OEM CAD data or from a 3D scan of an existing car. Scanned parts inherit every panel gap error from the donor vehicle; CAD-matched tooling does not.
How Do Splitters and Diffusers Actually Generate Downforce?
The splitter’s job starts before the air ever reaches the diffuser. At the front of the car, the splitter’s leading edge creates a wall of high pressure that air either flows over the hood or gets forced underneath, into the flat underbody tunnel. The ratio between those two paths determines how much low pressure builds up under the car, which is the raw material the diffuser later converts into downforce.
Underfloor air moving at higher velocity than the free stream sits at lower pressure, per basic Bernoulli behavior, and that pressure differential between the top and bottom of the car is what pulls the chassis down. The diffuser’s role is recovering that accelerated, low-pressure air back to ambient pressure before it exits behind the rear bumper. Do it too abruptly and the flow separates from the diffuser surface, a condition commonly called diffuser stall, and downforce collapses along with an unwanted drag spike.
Three design details separate a diffuser that works from one that just looks aggressive:
- Expansion (ramp) angle: a gradual expansion angle keeps flow attached longer, extending the pressure recovery zone.
- Internal fins or channel strakes: these split the underfloor flow into narrower streams, resisting the sideways vortex shedding that triggers premature stall.
- Diffuser exit height and opening width: a larger, well-shaped opening extracts more airflow volume, similar in principle to how McLaren’s Formula 1 team enlarged diffuser openings to manage the downforce-to-drag ratio under the current regulations.
Speed, ride height, and why this is not a static number
Aerodynamic force scales with the square of velocity, so the functional benefit of a diffuser is close to negligible at parking lot speeds and becomes significant only once you are well into highway and track speeds. Most owners notice the stability difference starting around 80 to 100 mph, with the effect compounding sharply from there. This is why a diffuser marketed on “downforce numbers” without a stated speed is not telling you much.
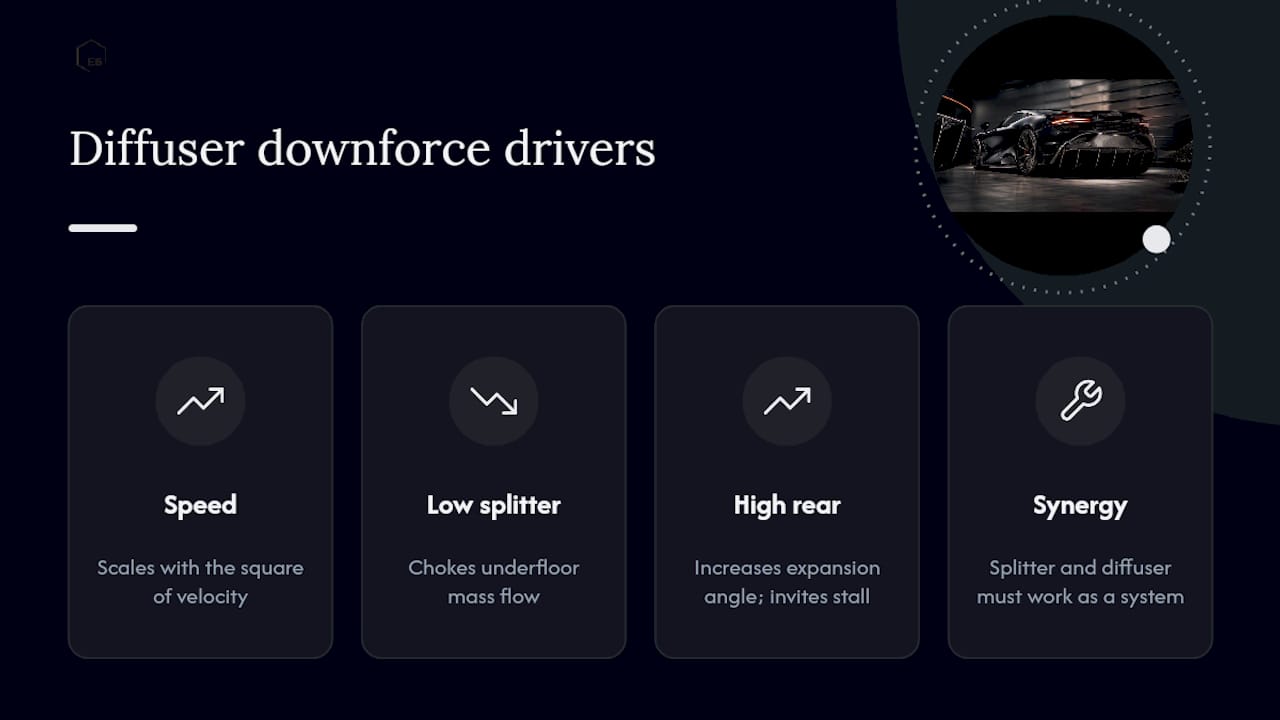
Ride height interacts directly with all of this. Lower the front splitter too aggressively and you choke the underfloor mass flow before it ever reaches the diffuser. Raise the rear ride height and you increase the diffuser’s effective expansion angle beyond what the geometry was designed for, inviting stall at exactly the speeds where you wanted the most downforce. This is also where wheel wake and suspension motion come into play: as documented in technical analysis of rear-corner aerodynamics, diffuser effectiveness is highly sensitive to ride height oscillation and the turbulence shed by the rear wheels, which is why serious aero packages are shaken down incrementally rather than treated as a bolt-on with an instant, fixed result.
Splitter and diffuser synergy is the real story here, not either part in isolation. A splitter without a matched diffuser starves the underbody of the low-pressure air it needs to expand. A diffuser without a functioning splitter is trying to recover pressure that was never properly generated upstream. E6 Carbon engineers both as a system on McLaren platforms for exactly this reason, referenced in detail in the McLaren 750S aero efficiency writeup covering how the active wing, splitter, and underbody work together on that chassis.
Why Autoclave Pre-Preg Beats Wet Layup for Aero Parts
Wet layup carbon fiber, where dry cloth is hand-saturated with resin and cured at room temperature or under a vacuum bag, is cheaper and faster to produce. It is also inherently less consistent, and consistency is the entire point of an aerodynamic component.
- Void content: hand-laid wet layup typically traps more air pockets in the laminate, and each void is a weak point that can flex or crack under sustained aero load.
- Resin-to-fiber ratio: pre-preg arrives with resin content fixed at the material stage, while wet layup depends on the technician getting the ratio right by feel, part after part.
- Surface finish and dimensional precision: autoclave curing under uniform heat and pressure produces a flatter, more predictable surface, which matters because a warped diffuser panel changes the expansion angle the engineering was built around.
- Thermal cycling near the exhaust: pre-preg panels retain a cure temperature history that leaves lower residual stress in the laminate, giving better long-term dimensional stability where a diffuser sits close to hot exhaust components.
Serviceability is the one place wet layup has an edge. A cracked wet-layup panel can sometimes be patched locally without full replacement, while a damaged autoclave pre-preg part more often needs shop-level repair or replacement to restore its original stiffness. That tradeoff is worth accepting on a functional aero part, because the entire value proposition of a diffuser is repeatable performance, not patchability. A part that flexes differently after every repair is a part whose aerodynamic behavior you can no longer predict, which defeats the purpose of installing one in the first place.
Should You Choose a Street or Track Aero Package?
Not every McLaren owner needs the same aggressiveness of splitter and diffuser, and matching the part to how you actually drive matters more than chasing the biggest number on a spec sheet.
- Track-focused packages favor deeper front splitter overhang and larger diffuser exit geometry, which raises downforce but also raises drag in a straight line, meaning a small top-speed tradeoff on long straights.
- Street-focused packages favor a shallower splitter lip and a diffuser tuned for stability without aggressive ride-height dependency, minimizing the risk of curb strikes on daily roads.
- Cornering balance shifts with either package, since added rear downforce without a matching front splitter contribution can push the car toward understeer, while a well-matched pair keeps the front-to-rear balance close to what McLaren’s factory chassis tuning intended.
- Tire heating changes slightly under sustained high-speed cornering with more downforce loading the contact patch, which is a benefit on track and largely irrelevant in daily driving.
- Maintenance and liability: every E6 Carbon splitter and diffuser requires professional installation with strict water-sealing at every mounting point. E6 Carbon holds zero liability for improper installation or resulting damage, and skipping the sealing step is the single most common cause of moisture-related delamination.
If you split time between the street and a handful of track days a year, the street-tuned package with a slightly reinforced mounting kit is usually the more sensible call. Dedicated track cars justify the deeper geometry and the drag tradeoff that comes with it.
Model-Specific Notes: 720S, 750S, and 570S
Aero parts do not behave identically across the McLaren lineup, because bumper geometry, diffuser opening size, and exhaust routing differ enough between chassis generations to change how each platform responds.
- 720S: the factory underbody already channels significant airflow, so an E6 Carbon front splitter and rear diffuser here mostly amplifies existing downforce distribution, with most of the added load landing on the front axle thanks to splitter overhang, tightening turn-in response.
- 750S: McLaren’s own updates to this platform’s active wing and splitter system mean an E6 Carbon diffuser upgrade needs to work in concert with the factory active aero rather than against it. Details on how that splitter and wing pairing functions are covered in E6 Carbon’s own 750S aero efficiency breakdown.
- 570S: an earlier, less aero-dependent chassis, which means a diffuser upgrade here delivers a comparatively larger percentage improvement in rear-end stability, since the factory baseline leaves more room for gain.
Exhaust routing is the fitment variable owners underestimate most. A rear diffuser sits inches from hot exhaust tips on every one of these platforms, and E6 Carbon’s autoclave pre-preg construction is specifically suited to that thermal environment because of the dimensional stability that construction method retains under repeated heat cycling.
What Does Professional Installation Actually Require?
Every step in this process protects both the aerodynamic function and the structural bond of the part, and skipping one undoes the engineering.
- Pre-install inspection: confirm mounting hardpoints, bumper alignment, and factory panel gaps before the part ever touches the car.
- Torque sequencing: fasteners tighten in a specified order and to specified values, because uneven torque can warp a rigid carbon panel just enough to change its expansion angle.
- Sealing before fastening: every mounting point and seam gets sealed against water intrusion before final fastening, since moisture trapped against a pre-preg laminate is the leading cause of long-term delamination.
- Post-install dynamic check: a low-speed drive followed by a visual inspection for panel movement, unusual wind noise, or gap inconsistency.
- Return-to-shop trigger: any curb strike, undertray scrape, or visible gap shift after installation warrants a fitment recheck before the next high-speed drive.
Pro Tip: The most common fitment error is torquing the outboard fasteners before the centerline mounts. Always secure the diffuser or splitter from the center outward, never from the edges in, or you risk locking in a slight bow that throws off the whole panel’s alignment.
E6 Carbon requires professional installation and complete water-sealing on every splitter and diffuser it ships, and holds zero liability for improper installation or any resulting damage.
What Drives Price and Lead Time for These Parts?
Bespoke autoclave pre-preg components are priced and scheduled differently than a shelf-stocked aftermarket part, and understanding why helps set realistic expectations before you order.
- Mold tooling: platform-specific molds built to factory CAD data cost more upfront than a universal-fit blank, but they are what makes Fitment First installation possible.
- Finish selection: exposed 2×2 twill weave versus a painted or satin finish changes both material cost and cure-cycle complexity.
- Hardware and fitment level: a full mounting kit with OEM-matched hardware adds cost over a diffuser shipped bare.
- Lead time: autoclave-cured parts typically run on longer production cycles than off-the-shelf wet-layup alternatives, because each panel occupies autoclave chamber time that cannot be rushed without compromising cure quality.
Ordering through E6 Carbon starts with a model-fit consultation to confirm chassis generation and options package, followed by a deposit that secures a production slot. Because each part is built against the specific McLaren platform, batch production windows and finish selection are locked in early in that consultation.
What Track Data Backs E6 Carbon’s Aero Engineering?
E6 Carbon’s approach to McLaren aero borrows directly from lessons learned developing carbon aero packages for track-focused platforms like the C8 Corvette Z06, where diffuser and splitter geometry went through repeated shakedown testing before final production tooling was cut. That iterative process matters more than any single simulated downforce figure.
Real-world aero performance rarely matches simulation on the first attempt. Even Formula 1 teams operating with far larger engineering budgets have had to revise front wing geometry after track testing revealed behavior the simulation did not fully predict, a pattern documented in motorsport reporting on iterative aero development. Fitment-first manufacturing and repeated validation, not a single simulated number, are what make an aero claim trustworthy.
E6 Carbon’s proof points on McLaren-specific work include autoclave cure verification on every production batch, dimensional QA against factory hardpoint jigs, and model-specific fitment testing before a part ships to a customer, referenced further in E6 Carbon’s own pre-preg component manufacturing overview. Owners should treat any published downforce figure, from any manufacturer, as a starting point rather than a guarantee, since ride height, wheel wake, and rear corner airflow conditions on an individual car will always shift the real-world result slightly from the lab number. E6 Carbon requires professional installation and complete water-sealing on all diffuser and splitter products, and holds zero liability for damage resulting from improper fitting.
Who Should Install These Parts, and What Should You Ask First?
Dedicated track-day owners chasing measurable stability gains through fast corners benefit most from the deeper, track-tuned geometry. Street owners who spend most of their driving above 80 mph on open highways still gain real high-speed stability from the shallower street-tuned package, without the drag tradeoff of a track-depth splitter.
Before ordering, ask your installer or E6 Carbon directly: which chassis generation and factory options package your car has, whether the diffuser geometry has been validated against your specific exhaust routing, and what the sealing procedure covers under warranty. Reach out through E6carbon to confirm model-fit details before committing to a build slot.
Why Fitment First Guides Every Aero Decision at E6 Carbon
The industry temptation is to chase a bigger diffuser opening or a more aggressive splitter lip because it photographs well. E6 Carbon’s engineering priority runs the opposite direction: match the part to the chassis first, then let the aerodynamic gain follow from geometry that actually fits.
That is why every McLaren program starts with factory hardpoint data before a mold is ever cut, and why pre-preg autoclave construction is the baseline rather than an upgrade tier. Owners planning an aero upgrade should think about resale value the same way they think about handling balance: a mismatched aftermarket part that alters factory panel gaps is a liability at trade-in time, while a Fitment First component preserves the car’s original lines and its aerodynamic intent.
— E6 Engineering
Ready to Upgrade Your McLaren’s Aero Package?
E6 Carbon builds its McLaren splitters and diffusers the way a race shop builds a wing, not the way a body shop builds a cosmetic add-on. Every panel comes off autoclave-cured 2×2 twill pre-preg tooling matched to factory hardpoints, which is the difference between a part that generates real downforce and one that just changes your car’s silhouette. The catalog includes model-specific kits for the 720S, 750S, and 570S, alongside the same manufacturing approach applied to platforms like the Lexus LC500 Elite Aero Kit, which shows the process at work outside the McLaren lineup.
Every splitter and diffuser requires professional installation and complete water-sealing at every mounting point. E6 Carbon holds zero liability for improper installation or subsequent damage. Start a model-fit consultation and get a production timeline by visiting E6 Carbon.
Sources
FAQ
Does a rear diffuser actually affect performance?
Yes. A properly designed diffuser recovers underbody pressure to generate downforce, which improves high-speed stability and cornering grip, though the effect only becomes meaningful above roughly 80 to 100 mph.
At what speed does a rear diffuser start working?
Aerodynamic force scales with the square of velocity, so a diffuser produces negligible effect at low speed and becomes functionally significant once a car is traveling at highway speed and above, with the effect growing sharply from there.
What is diffuser aerodynamics, in simple terms?
Diffuser aerodynamics describes how a shaped underbody panel gradually expands accelerated, low-pressure air from beneath the car back to ambient pressure, converting that pressure differential into downforce without triggering flow separation.
What is the drag coefficient of the McLaren Speedtail?
McLaren has not published a specific drag coefficient figure for the Speedtail in sources reviewed for this article, so no number is stated here rather than an unverified estimate.
How do a front splitter and rear diffuser work together?
The splitter directs a controlled volume of air under the car, creating the low pressure the diffuser then needs to expand and recover, so the two parts function as one aerodynamic system rather than independent upgrades.