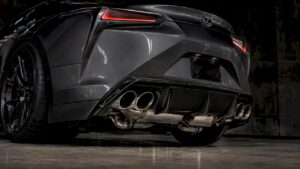
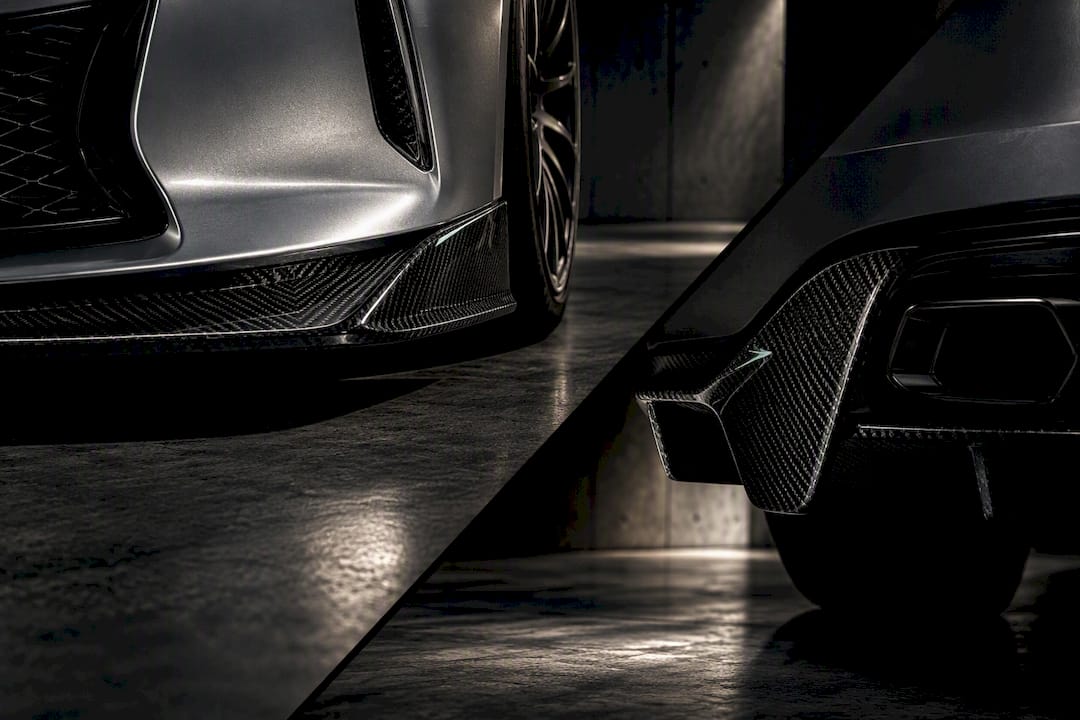
A precision-fit option is available for owners who want authentic autoclave-cured carbon rather than a generic fiberglass copy. It fits the OEM bumper with test fitting still required before any permanent bonding. Before you buy anything, inspect your bumper, confirm your model year, and decide now whether this is a DIY weekend or a job for a shop with a lift.
TL;DR:
- Verify your bumper’s exact variant, trim, and production year before ordering a precision-fit carbon kit to avoid misalignment or fitment issues.
- Measure clearance from tires and ride height with a full tank and load to prevent scraping after installing a front lip or diffuser.
- Use a combination of 3M VHB tape and mechanical fasteners during installation, and fully cure the adhesive for at least 72 hours before washing or driving aggressively.
- Distinguish authentic dry carbon from fiberglass replicas by examining weave consistency, weight, and edge finishing to ensure genuine, lightweight, and durable parts.
- Approach steep ramps at an angle and consider breakaway hardware to minimize the risk of scraping or damage to the overhanging lip.
Table of Contents
- Lexus LC500 Carbon Fiber Front Lip Spoiler and Rear Diffuser Fitment Guide: What’s In the Kit
- What Should You Check Before Buying a Carbon Lip Kit?
- How Do You Install a Carbon Front Lip and Rear Diffuser?
- How Can You Tell Authentic Carbon From a Fiberglass Replica?
- Will a Carbon Lip Kit Cause Scraping?
- How Long Does the Adhesive Need to Cure?
- Why Manufacturing Method Matters More Than Marketing Copy
- Should You DIY This or Hire a Shop?
- Get a Precision-Fit LC500 Carbon Kit From E6 Carbon
- Sources
- FAQ
Lexus LC500 Carbon Fiber Front Lip Spoiler and Rear Diffuser Fitment Guide: What’s In the Kit
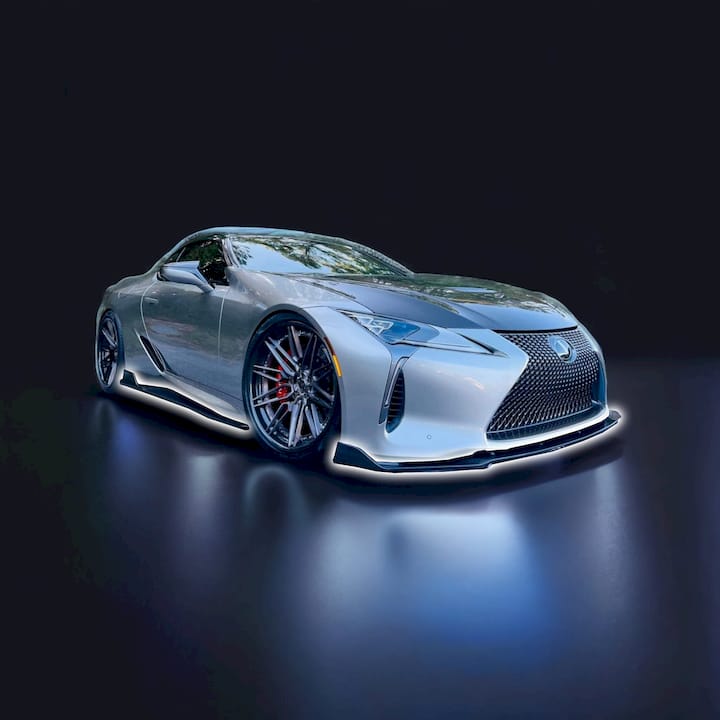
A complete aero upgrade for the LC500 typically covers three components that work together rather than in isolation. Buying them as a coordinated set matters more on this platform than most, because the factory bumper’s lower fascia lines were sculpted as one continuous surface.
- Front lip spoiler — mounts along the lower valance, extends the splitter line, and manages front-end lift at speed.
- Rear diffuser — bolts into the factory diffuser cutout beneath the rear bumper and channels underbody airflow toward the exhaust exit.
- Side skirt extensions (commonly sold as a related add-on, not always bundled) — bridge the visual gap between the lip and diffuser along the rocker panels.
LC500 components are sometimes manufactured from autoclave-cured 2×2 twill carbon fiber, a dry-carbon process that cures under heat and pressure inside a pressurized oven rather than hardening at room temperature the way hand-laid wet carbon does. The autoclave draws out excess resin and voids during cure, which is why dry carbon parts tend to run lighter and show a tighter, more uniform weave than wet-lay alternatives.
Fitment isn’t universal across every LC500 built since 2018. The coupe has gone through minor bumper and sensor-package revisions across its production run, and Sport+ trims sometimes carry different lower fascia cutouts for parking sensors or the F Sport aero package. A kit engineered around a 3D scan of one bumper variant can bind, gap, or refuse to seat cleanly on another. Confirm your exact trim and production year before ordering, and don’t assume “LC500” alone is enough specification for a precision part.
What Should You Check Before Buying a Carbon Lip Kit?
Get this wrong and you’ll either send a kit back or spend a weekend fighting a part that was never going to seat right. Work through this before you place an order or book a shop appointment.
- Identify your exact bumper variant. Photograph the front fascia from directly ahead and from a low three-quarter angle, noting sensor cutouts, and confirm your production date against Lexus’s model-year changes.
- Measure lip projection clearance. Check the distance from your front tire’s leading edge to the bumper corner, and measure ride height at the front subframe rail. These numbers tell you how much overhang you can tolerate before scraping becomes routine.
- Inspect the bumper’s physical condition. Run your hand along the lower edge feeling for prior repairs, filler, or heat distortion from an old exhaust brush. A previously repaired or modified bumper rarely accepts a precision-scanned part the same way an untouched factory panel does.
- Locate your factory mounting points. The rear diffuser cutout and the lip’s OEM anchor tabs should be visible without removing anything, but shine a light underneath to check for missing clips from a prior owner’s install.
- Gather your tools before the part arrives. You’ll want a torque driver with a low range (most trim fasteners run 2 to 4 newton-meters), plastic trim tools, a heat gun for adhesion prep, and a notched applicator or roller for tape work.
Pro Tip: Take your clearance measurements with a full tank of gas and, ideally, a passenger’s worth of weight in the car. Ride height sags slightly under load, and that’s the condition you’ll actually be driving in most of the time.
How Do You Install a Carbon Front Lip and Rear Diffuser?
Every reputable install manual for this category of part follows roughly the same sequence, and skipping steps is where most DIY installs go wrong. The order matters more than the individual steps.
Step 1: Dry fit everything first
Set the lip and diffuser in place using masking tape only, no adhesive, no drilling. Check panel gaps against the bumper and quarter panels on both sides, and sight down the car’s flank to confirm the lip runs parallel to the ground. Vendors selling LC500 aero components consistently note that minor drilling or trimming may still be necessary even on a well-scanned part, because factory bumper tolerances vary panel to panel.
Step 2: Remove trim for access
On the rear diffuser, that usually means dropping the rear under-tray fasteners and, on some installs, loosening (not fully removing) the OEM diffuser shroud to expose the mounting rail. Keep every factory clip and screw sorted by location. Losing track of hardware here is the single most common reason installs run long.
Step 3: Prep the bonding surfaces
Clean both the carbon part’s mounting face and the bumper’s contact surface with a 50/50 isopropyl alcohol and water mix, then let it flash dry completely. Apply an adhesion promoter to both surfaces and let that cure per the product’s flash time, typically a few minutes, before any tape touches the panel.
Step 4: Apply 3M VHB tape and mechanical fasteners
Most premium kits use a combination approach rather than tape alone or fasteners alone:
- Cut 3M VHB tape strips to length and apply to the carbon part first, pulling the red release liner tail slowly to avoid stretching the adhesive.
- Position the part using your dry-fit reference marks, then press firmly along the bond line, working from center outward.
- Clamp corners with weighted or spring clamps while the tape sets its initial grab.
- Install self-tapping screws or OEM-style push clips at the factory anchor points once alignment is locked, typically four to eight fasteners per component depending on kit design.
- Torque any threaded fasteners to the manufacturer’s spec, generally a low range to avoid cracking the carbon weave at the fastener boss.
Step 5: Final verification
Walk the full perimeter checking panel gap consistency, then cycle the hood or trunk if either interacts with the new part to confirm nothing binds. Touch up any exposed mounting hardware with matching paint if it’s visible from a normal viewing angle, and hold off on the first wash for at least three days.
Budget four to six hours for a front lip and rear diffuser combined if you’re working alone in a garage, longer if trim removal turns up a surprise like a corroded clip or a previous owner’s improvised repair.
How Can You Tell Authentic Carbon From a Fiberglass Replica?
The forum marketplace for LC500 aero parts is full of kits marketed as “carbon” that are actually fiberglass with a printed carbon-look vinyl or a thin cosmetic carbon layer over a fiberglass core. Telling the difference before you install one, not after, saves you a repaint and a re-fit.
- Weave consistency: authentic dry carbon shows a uniform, tight 2×2 twill pattern with no distortion at curves; printed vinyl “carbon” often shows a repeating pattern that doesn’t follow the panel’s contour.
- Mounting face finish: flip the part over. Genuine autoclave-cured parts show clean, sanded carbon at the mounting face; fiberglass replicas frequently reveal a rough gelcoat texture or visible resin pooling underneath a cosmetic top layer.
- Weight: dry carbon parts are noticeably lighter for their size than wet-lay fiberglass equivalents of the same dimensions, a difference you can feel by hand even without a scale.
- Edge finishing: laser-cut or precision-trimmed edges on authentic parts look crisp; hand-trimmed fiberglass often shows slightly uneven or fuzzy cut edges.
Kits engineered from a 3D scan of the actual OEM bumper start from a digital reference of the real part’s surface, not a mold pulled off someone else’s aftermarket piece. That scan-first process is what keeps panel gaps consistent from one unit to the next, where mold-based fiberglass reproduction tends to drift as the mold itself wears with repeated use.
If you want a deeper technical breakdown of how dry and wet carbon differ in resin content and finish, E6 Carbon’s dry vs. wet carbon guide walks through the manufacturing distinction in more detail than fits here.
Will a Carbon Lip Kit Cause Scraping?
Owner reports on LC500 forums put front-lip overhang at roughly an inch or more below the stock bumper depending on the kit’s design, which is enough to catch on steep driveway aprons and parking curb stops that never bothered the factory bumper.
- Approach shallow ramps at an angle rather than straight on to reduce the effective attack angle at the lip’s lowest point.
- If your car sits on lowering springs, get a second clearance measurement after the lip goes on. Stacking a static drop with lip overhang is the most common scraping complaint.
- Consider breakaway or spring-loaded mounting hardware options for the front lip’s leading edge to reduce damage risk from impacts.
Pro Tip: Keep a folded rubber floor mat in your trunk. Laying it over a steep curb transition before crossing costs you ten seconds and saves a repair bill.
How Long Does the Adhesive Need to Cure?
Get the temperature and timeline wrong here and you’ll peel your new lip off the first time you hit a pothole. Adhesive bonds develop poorly below about 50°F, so cold-garage installs in winter need supplemental heat before you tape anything down.
Cure strength builds in predictable stages: roughly 50% strength at 20 minutes, about 90% at 24 hours, and effectively full strength around 72 hours.
- Don’t drive on anything but smooth, low-speed roads for the first 24 hours.
- Avoid automatic car washes and high-pressure hand washing near bond lines for a full 72 hours.
- Skip adhesion promoter and you’re gambling on a bond that fails prematurely, regardless of how well the tape itself is rated.
- Wipe both surfaces with a 50/50 isopropyl alcohol and water solution immediately before bonding, since fingerprints and dust are enough to weaken adhesion.
Once cured, a pH-neutral wash routine protects both the carbon’s clear coat and the surrounding factory paint from swirling that shows up worse on a glossy carbon finish than on painted panels.
Why Manufacturing Method Matters More Than Marketing Copy
Some manufacturers build bespoke forged wheels and carbon fiber components for the exotic and luxury aftermarket, supporting platforms from BMW M and Mercedes-AMG to Lexus, Ferrari, Lamborghini, and McLaren. The “Fitment First” approach means components are engineered to meet standards required for both competitive track use and everyday street presence, not styled first and fitted second.
That distinction shows up in how the parts are made. Some companies use autoclave curing on their carbon fiber pieces alongside precision forging on their wheel programs, both aimed at cutting weight without sacrificing structural integrity.
Before you hand your bumper to any shop, or your money to any online seller, ask these questions:
- What was the tooling reference, an actual OEM bumper scan or a mold pulled from another aftermarket kit?
- What clear coat or finish process protects the weave, and is it UV-stable long term?
- What does the warranty actually cover if the part doesn’t seat correctly on your specific trim?
- What is the current lead time from order to shipment?
Should You DIY This or Hire a Shop?
DIY suits owners with prior trim-removal experience and a heated garage, since cold adhesive is the fastest way to ruin a bond. If your install involves drilling into the bumper or blending paint at a cut edge, hand it to a professional shop. Budget four to eight labor hours either way, and weigh a failed DIY bond against a shop’s hourly rate before deciding.
— E6 Engineering
Get a Precision-Fit LC500 Carbon Kit From E6 Carbon
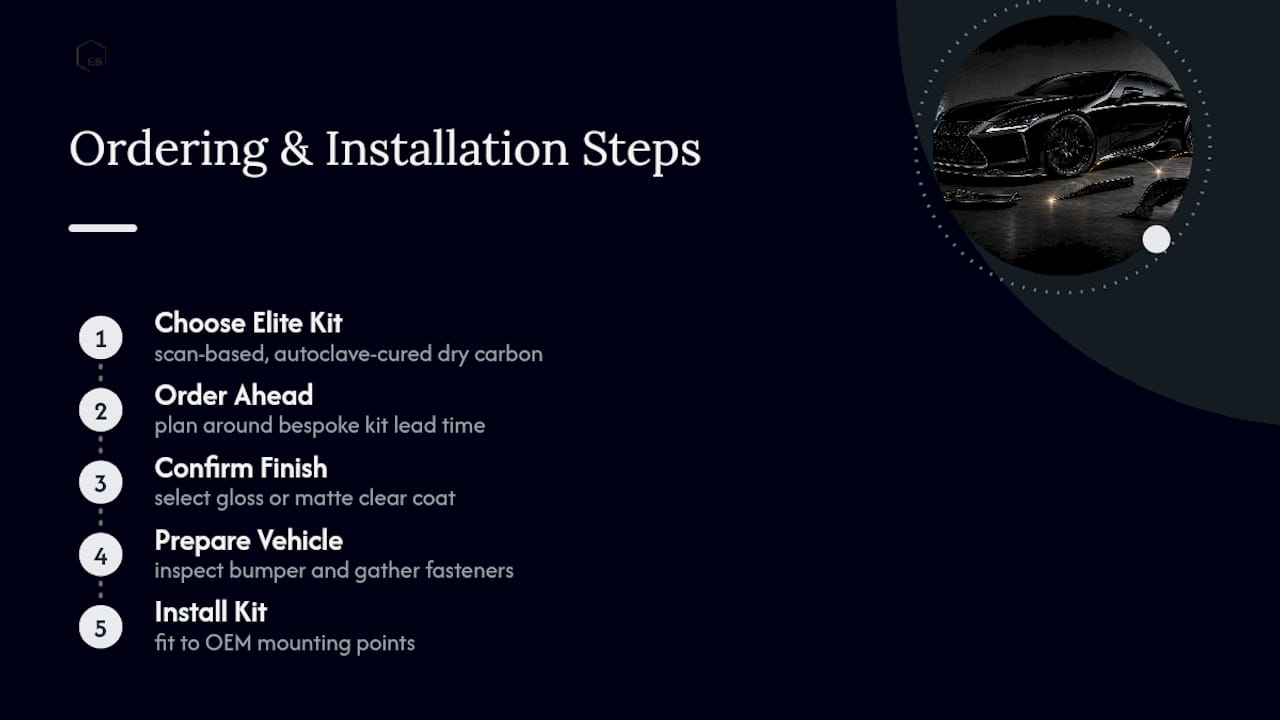
Everything in this guide points to one conclusion: fitment quality depends entirely on whether a kit started life as a scan of your actual bumper or a mold copied from someone else’s guesswork. The E6 Carbon Elite Kit for the Lexus LC500 is built around that principle, with autoclave-cured dry carbon components engineered to the OEM bumper’s factory mounting points rather than trimmed to fit after the fact.
Ordering an Elite Kit means planning around lead time. Bespoke carbon runs on a production schedule, not a warehouse shelf, so order ahead of any event or photo deadline and confirm finish options (gloss or matte clear coat) at checkout. Have your bumper inspected and your fasteners gathered before the kit ships so installation day isn’t lost to a hardware run.
If your LC500 is headed toward a fuller exterior package, the carbon aero splitters and side rockers guide covers how those pieces integrate with the front lip and diffuser as one cohesive look. Visit E6 Carbon to review current LC500 fitment options and start a kit order today.
Sources
Cure timelines and temperature guidance in this guide come from Verus Engineering’s adhesive technical documentation. Procedural steps, including 3M VHB technique and surface prep, follow the structure of Verus’s carbon ducktail spoiler install manual, a comparable reference for bonded carbon components.
- Carbon Ducktail Spoiler – Install Manual (Verus Engineering)
- LC500 Aero kit product page (HiRev Sports)
FAQ
Will a carbon front lip scrape on speed bumps?
Approach ramps and speed bumps at an angle, and consider breakaway mounting hardware for extra insurance.
Do I need to drill into my bumper to install a diffuser?
Not always. Most rear diffusers use the factory diffuser cutout and existing anchor points, but vendors note that minor drilling or trimming is sometimes needed to compensate for factory tolerance variation between individual bumpers.
How long before I can wash my car after installing a carbon lip?
Wait a full 72 hours before any pressure washing or automatic car wash, since that’s when the adhesive bond reaches full strength. Light hand washing away from the bond line is fine after the first 24 hours.
Does the E6 Carbon Elite Kit fit every LC500 model year?
The kit is engineered around specific OEM bumper variants, so confirm your exact production year and trim before ordering. Test fitting is still recommended once the Elite Kit arrives to account for individual bumper tolerance.
What’s the difference between dry carbon and fiberglass replicas?
Dry carbon is cured in an autoclave under heat and pressure, producing a lighter part with a tighter, more uniform weave than hand-laid fiberglass. Fiberglass replicas often use a printed carbon-look layer over a heavier resin core, which shows up in weight, edge finish, and mounting-face texture.
Recommended
- Lexus LC500 Rear Diffuser Design: Dry Carbon Guide
- Bumper Vent Covers | Lexus LC500
- Lexus LC500 Carbon Aero Splitters and Side Rockers Guide
Pricing, custom fitment options, and surface finishes subject to availability. Please contact E6 Carbon or E6 Forged directly to confirm vehicle-specific offset parameters, brake clearances, and current lead times prior to placing your order.