TL;DR:
- Wheel hardware plays a crucial role in maintaining safe and high-performance wheel attachment under driving loads. Proper seat geometry, precise torque, and quality materials are essential to prevent loosening, fatigue failure, and vibrations over time. Regular inspection, correct hardware matching, and proper installation practices ensure durability and safety for enthusiasts and racers alike.
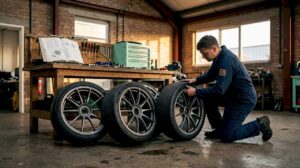
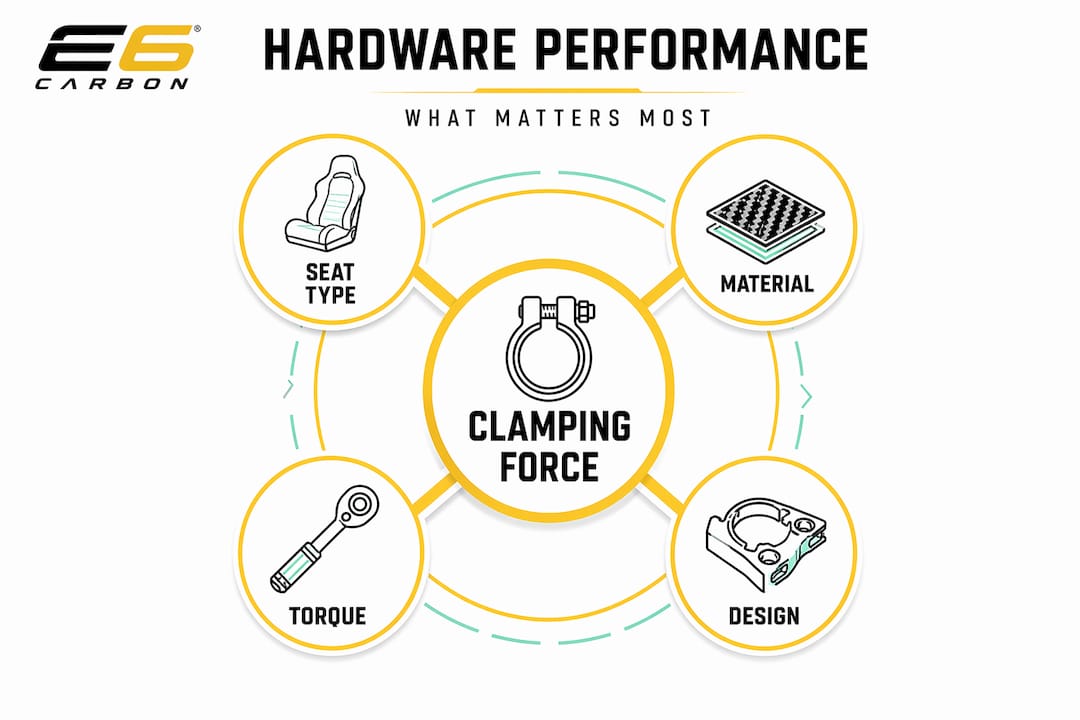
Most car enthusiasts obsess over wheel design, finish, and sizing. The hardware holding those wheels to your car rarely gets a second thought. That’s a mistake. The role of wheel hardware goes far beyond threading a lug nut onto a stud. It governs clamping force, wheel centering, fatigue resistance under load, and ultimately whether your wheels stay attached at speed. Understanding how fasteners, seat geometries, torque specs, and materials all interact is the difference between a safe, high-performing build and a liability on the track.
Table of Contents
- Key Takeaways
- The role of wheel hardware: how lug nuts, bolts, and studs work
- Lug seat types and why they matter more than you think
- Torque, preload, and the friction factor
- How material and design choices affect hardware durability
- Selecting and maintaining wheel hardware as a DIY enthusiast
- My honest take on what most enthusiasts get wrong
- Take your wheel build to the next level with E6 Carbon
- FAQ
Key Takeaways
| Point | Details |
|---|---|
| Hardware creates clamping force | Lug nuts and bolts generate the preload that keeps wheels securely attached under dynamic driving loads. |
| Seat geometry determines centering | Matching lug seat type to your wheel is critical for accurate centering and preventing loosening. |
| Torque precision matters | Over- or under-tightening both cause fastener failure; always use a calibrated torque wrench. |
| Material quality affects fatigue life | Advanced steel alloys and optimized geometry can nearly double fatigue resistance in wheel components. |
| Maintenance prevents catastrophic failure | Regular inspection of threads, seat contact, and corrosion catches problems before they become dangerous. |
The role of wheel hardware: how lug nuts, bolts, and studs work
When you bolt a wheel to your car, you’re not just threading metal together. You’re engineering a clamped joint that must survive cornering forces, braking loads, road impacts, and vibration cycles every time you drive. Lug nuts secure wheels to threaded wheel studs that press out from the hub, while some vehicles use lug bolts that screw directly into threaded holes in the hub itself. Both systems accomplish the same goal: generating enough clamping force to lock the wheel against the hub face under all conditions.
That clamping force is called preload. When you torque a lug nut, the stud stretches slightly under tension. That tension is the preload, and it’s what holds everything together. The fastener isn’t gripping by friction alone. It’s functioning like a stretched spring, constantly trying to return to its original length and keeping the wheel squeezed against the hub.
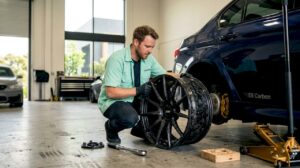
Here’s the installation sequence that actually matters:
- Hand-start every lug nut before applying any torque to confirm threads are clean and aligned.
- Snug all fasteners to about 20 ft-lbs using a star pattern, crossing to opposite nuts rather than going in a circle.
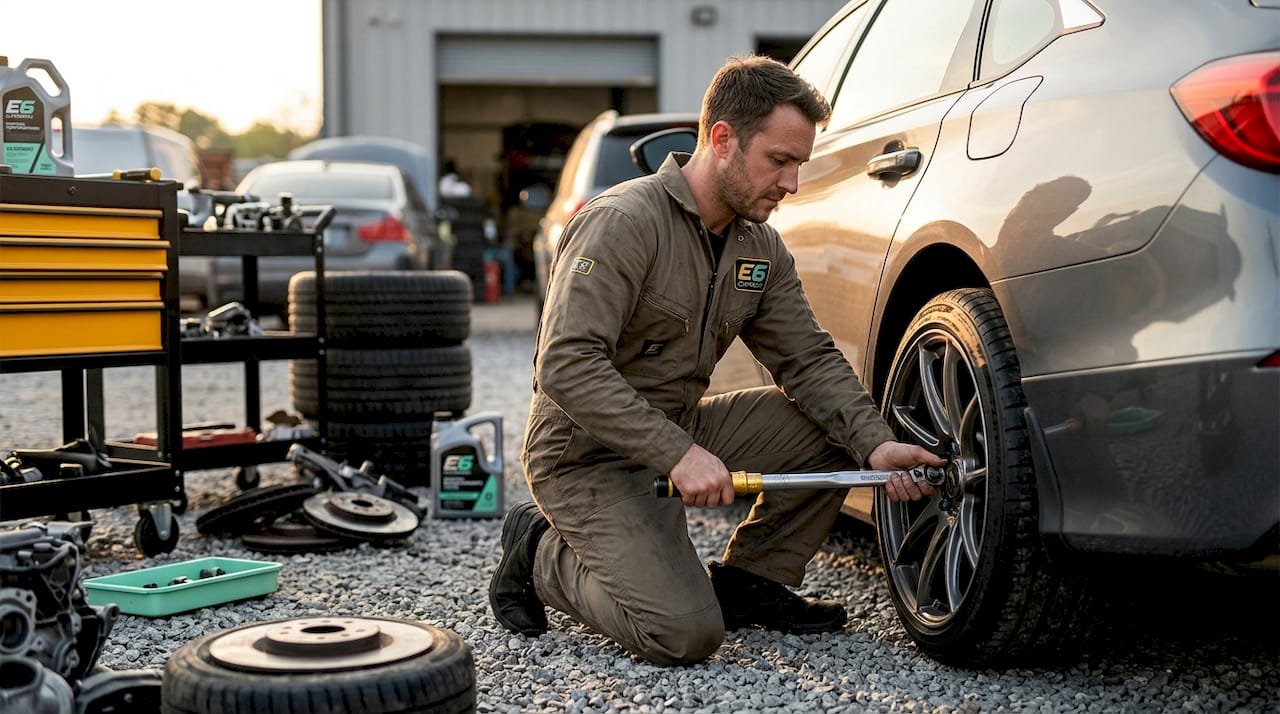
- Torque to the manufacturer’s specification in two passes, still in a star pattern, to evenly distribute clamping force across the wheel face.
- Re-check torque after driving 25 to 50 miles, especially on new wheels or after any hub work.
Pro Tip: Never use an impact gun for final torque on lug nuts. Impact guns overtighten inconsistently and can warp brake rotors through uneven hub face loading. Use a beam-style or click torque wrench for every final pass.
The wheel’s clamping system is actually an interface chain: hub face, wheel seat, fastener, and friction conditions all work together. Weaken any one link and preload suffers, even if the thread engagement looks correct from the outside.
Lug seat types and why they matter more than you think
Here’s where most DIY builds go wrong. You can have perfectly spec’d wheels, quality lug nuts, and correct torque, and still end up with loose wheels if your seat geometry doesn’t match. Seat geometry mechanically centers the wheel on the hub and resists the micro-movements caused by driving-induced fretting. When the seat doesn’t match, you lose both centering accuracy and loosening resistance.
The three main seat types you’ll encounter are conical (tapered), ball (hemispherical), and flat/shank (cylindrical). Each one contacts the wheel in a fundamentally different way.
| Seat Type | Contact Shape | Common Applications | Key Characteristic |
|---|---|---|---|
| Conical (60°) | V-shaped taper | Most aftermarket, Japanese, Korean vehicles | Self-centering under load |
| Conical (45°) | Steeper taper | Racing wheels, lightweight applications | Higher contact stress, precise fit |
| Ball/Hemispherical | Curved radius | OEM wheels on Audi, BMW, Honda | Smooth contact, OEM-specific |
| Flat/Shank | Cylindrical shoulder | Some European OEM applications | Requires separate centering |
The 60-degree conical taper is the most common across aftermarket wheels because its geometry naturally pulls the wheel toward center as you tighten the fastener. Racing applications often use a 45-degree taper for a more precise, higher-pressure contact interface. OEMs like BMW and Audi spec ball seats because their hub geometry is designed around that contact shape from the factory.
Pro Tip: If you’re running aftermarket wheels on a BMW or Audi, check the seat type on your lug bolts carefully. Using a conical nut on a ball-seat wheel (or vice versa) won’t center the wheel accurately and will damage the seat surface over time, reducing clamp retention.
Mismatched seat types are one of the leading causes of wheels that feel right at installation but develop vibration or loosening after a few hundred miles. The mismatch creates line contact instead of surface contact, concentrating stress and allowing micro-movement that gradually backs the fasteners out.
Torque, preload, and the friction factor
Torque is what you apply. Preload is what you actually get. They’re related but not the same, and the difference matters every time you tighten a wheel.
The conversion from applied torque to actual preload depends on friction. Specifically, it depends on the nut factor K, which accounts for thread friction, bearing face friction, and thread geometry. Torque-to-preload conversion is sensitive to lubrication conditions at both the thread and the bearing face. A dry lug nut torqued to 100 ft-lbs generates significantly less preload than a lightly lubricated one torqued to the same value, because more of the applied torque goes into overcoming friction rather than stretching the stud.
This creates a real problem for enthusiasts who apply anti-seize to their studs and then use the stock torque spec. That spec was calibrated for dry or lightly oiled threads. Adding anti-seize drops the friction dramatically, so the same torque number now creates much higher preload, risking stud stretch or rotor warping.
Key torque mistakes to avoid:
- Over-tightening with an impact gun: Generates inconsistent preload and risks stud failure, especially on aluminum hubs.
- Under-tightening due to dirty threads: Rust, dirt, or thread damage absorbs torque without creating proportional preload. Clean threads before installation.
- Ignoring re-torque after initial install: New wheels and hardware seat slightly during the first drive cycle, which relaxes preload. A re-torque pass at 25 miles is not optional on new installs.
- Using worn torque tools: A click wrench that no longer clicks at the right value is worse than no torque wrench at all, because it gives you false confidence.
Research on EV chassis assembly shows that standardizing torque specifications reduced torque variants by 65.2% while maintaining a reject rate below 0.05%. The lesson transfers directly to aftermarket wheel work: precision and consistency beat improvisation every time.
Pro Tip: Torque specifications are generally set for clean, dry threads with no anti-seize. If you choose to use anti-seize for corrosion protection in harsh climates, reduce the torque specification by approximately 10 to 15 percent to compensate for reduced friction.
How material and design choices affect hardware durability
Wheel hardware isn’t just steel threaded into more steel. The loads these fasteners experience are cyclical, dynamic, and sometimes severe. Every pothole, every hard corner, every emergency stop introduces stress cycles into the fastener. Over thousands of miles, those cycles accumulate and can initiate fatigue cracks, particularly at thread roots where stress concentrations are highest.
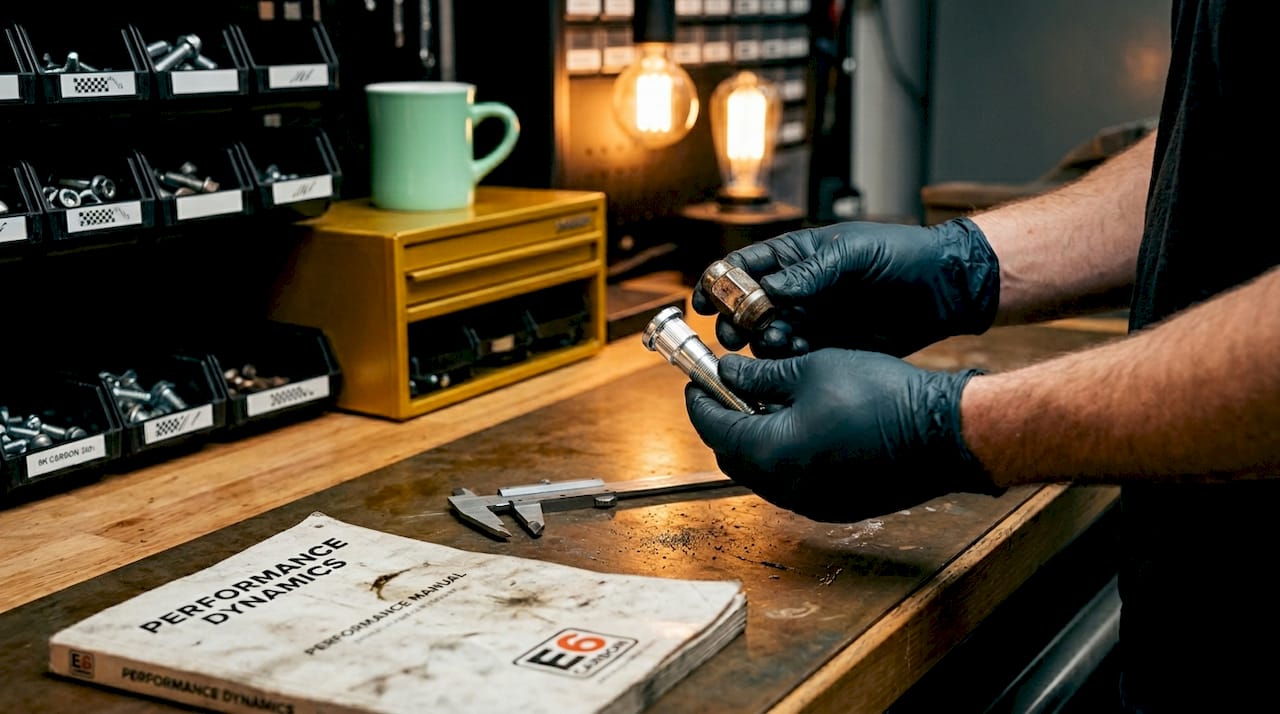
Research on aluminum alloy wheel geometry found that systematic optimization of geometric parameters produced an 18.7% to 22.4% reduction in peak stress and a 98% increase in fatigue life, while also cutting wheel mass by 6.2%. That data applies directly to the design of the hardware interface, because the loads the fastener carries are shaped by how the wheel distributes stress across the hub face.
Material science is where performance hardware earns its price premium. Advanced steel alloys developed computationally for racing environments, like Ferrium C61, demonstrate how targeted material selection extends component life under high dynamic loads. In Formula One applications, the same design philosophy that produced a 10x improvement in gearset lifespan applies to fastener design: the right material for the load environment dramatically extends service life and reduces failure risk.
| Material Property | Relevance to Wheel Hardware | Performance Impact |
|---|---|---|
| Tensile strength | Determines maximum preload before stud yields | Higher strength allows tighter clamp without failure |
| Fatigue limit | Sets threshold for safe cyclic loading | Higher limit extends service life under repeated stress |
| Corrosion resistance | Affects thread integrity and surface contact quality | Poor resistance leads to preload loss over time |
| Hardness | Governs seat face wear and deformation | Matched hardness prevents seat damage and loosening |
For street and track builds, wheel strength fundamentals directly connect hardware performance to overall safety. Cheap hardware made from lower-grade steel may meet initial torque specs but degrades faster under cyclic loading, losing preload incrementally with each drive.
Selecting and maintaining wheel hardware as a DIY enthusiast
Getting the hardware selection right starts with knowing your wheel’s seat type, thread pitch, and shank length requirements before you buy anything. These are not interchangeable between platforms, and the spec sheet that comes with aftermarket wheels gives you exactly what you need.
Practical selection and maintenance checks to run regularly:
- Match seat type precisely. Confirm conical, ball, or flat seat before purchasing lug nuts or bolts for aftermarket wheels.
- Check shank length. Extended-shank lug nuts are required for some deep-seated aftermarket wheels. Short shanks may appear torqued correctly but have insufficient thread engagement.
- Inspect threads every season. Look for corrosion, galling, or deformation on both the stud and the nut. Any damaged thread that you can feel with your fingernail is a replacement candidate.
- Watch for seat face wear. If you see polishing, pitting, or deformation on the seat contact area of your wheel bore, your lug nut geometry may not be correct for that wheel.
- Upgrade hardware when upgrading wheels. A set of forged wheels deserves matching-quality hardware. Low-grade lug nuts on a precision-machined hub face will introduce runout that degrades the performance the wheel was designed to deliver.
Pro Tip: Extended lug nuts for spacer applications require careful shank length calculation. Add the spacer thickness to the minimum thread engagement length specified by the stud manufacturer. Guessing on shank length is one of the fastest ways to compromise a perfectly engineered wheel setup.
For enthusiasts running their cars on track, the racing versus street wheel differences in hardware requirements are significant. Track environments demand more frequent inspection intervals, higher-spec fastener materials, and precise torque verification before every event.
My honest take on what most enthusiasts get wrong
When someone brings a set of wheels to me and asks why they’re getting vibration or why they lost a wheel on a spirited drive, nine times out of ten the problem isn’t the wheel. It’s the hardware.
I’ve watched people spend four figures on forged wheels and then reuse their stock lug nuts without checking seat type compatibility. I’ve seen rotors warped by an impact gun that never touched the brakes. And I’ve seen stubborn lug nuts that looked fine but had thread damage that absorbed torque without building any real preload, which meant the wheel was never truly clamped.
What I’ve learned is that the importance of wheel components only becomes obvious after something goes wrong. The hardware is invisible when it’s working. When it fails, it fails completely and fast. That asymmetry is exactly why it deserves more attention than it gets.
My practical advice: before you install any wheel on any car, know your seat type, clean your threads, use a torque wrench you’ve calibrated recently, and re-torque after the first real drive. That four-step practice costs nothing and protects everything you’ve invested in the build. The wheel is the statement. The hardware is the promise that keeps it.
— Kunal
Take your wheel build to the next level with E6 Carbon

Getting hardware right is the foundation, but the wheel itself has to be worthy of the precision you’re putting into the installation. At E6 Carbon, every forged wheel is engineered with hub face tolerances and seat geometry designed to work with proper hardware installation from the start. If you want to make sure your next build is both stunning and structurally sound, the forged wheel inspection guide walks you through exactly what to check before and after installation. For the full installation process with torque sequencing and hardware best practices, the step-by-step installation guide covers everything from first fitting to final re-torque. E6 Carbon builds wheels that reward enthusiasts who understand the system behind the style.
FAQ
What is the role of wheel hardware in vehicle safety?
Wheel hardware creates the clamping force that keeps wheels attached to the hub under dynamic driving loads. Without correct torque and seat geometry, wheels can loosen or separate even if they appear properly installed.
Why does lug seat type matter for aftermarket wheels?
Seat geometry centers the wheel mechanically and resists loosening from road vibration. Using the wrong seat type, such as a conical nut on a ball-seat wheel, creates uneven contact that damages the seat and gradually loses preload.
What torque should I use for lug nuts?
Always follow the torque specification for your specific vehicle and fastener combination. Research shows that consistent torque application maintains joint integrity far better than approximations, and specs assume dry or lightly oiled threads unless stated otherwise.
How often should I inspect wheel hardware?
Inspect threads and seat surfaces every tire rotation and before any track day. Re-torque lug nuts after the first 25 to 50 miles following any wheel installation to account for initial seating and preload relaxation.
Does hardware material quality affect performance?
Yes. Higher-grade fastener steel resists fatigue under cyclic loads and maintains thread integrity longer. Computational material design in motorsport shows that selecting the right alloy for dynamic environments can extend component life by an order of magnitude compared to standard materials.